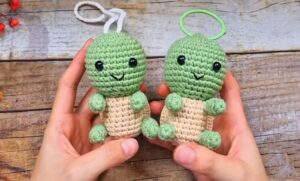
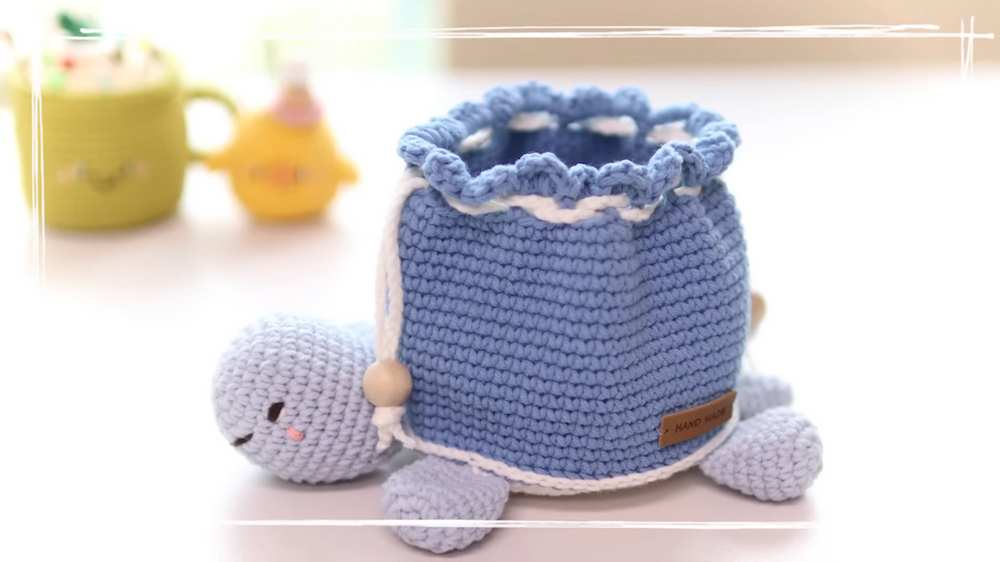
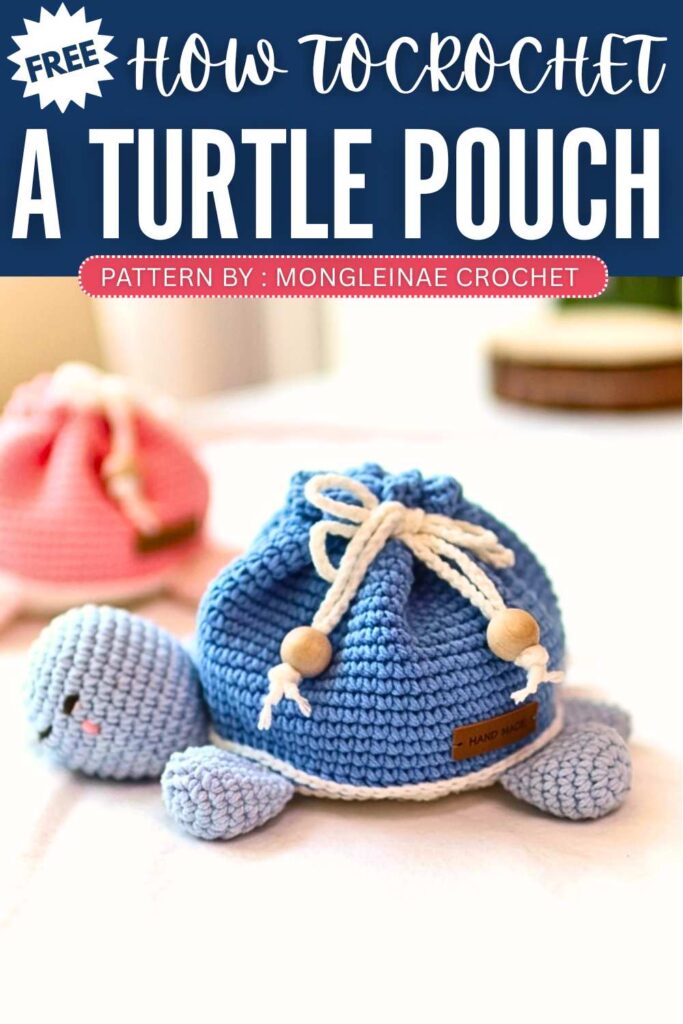
Crochet Turtle Pouch Bag Pattern For Small Goods
Bring a cute sea animal to life with this turtle-shaped crochet pouch that is both fun and useful. The turtle shell works as a small storage space for makeup, earbuds, or tiny items. Its body, legs, head, and tail are joined smoothly into one shape for a neat finish. A pretty scalloped edge and drawstring closure add extra charm, making the pouch perfect for gifts, travel, or daily use.
Crochet Turtle Pouch Bag Pattern
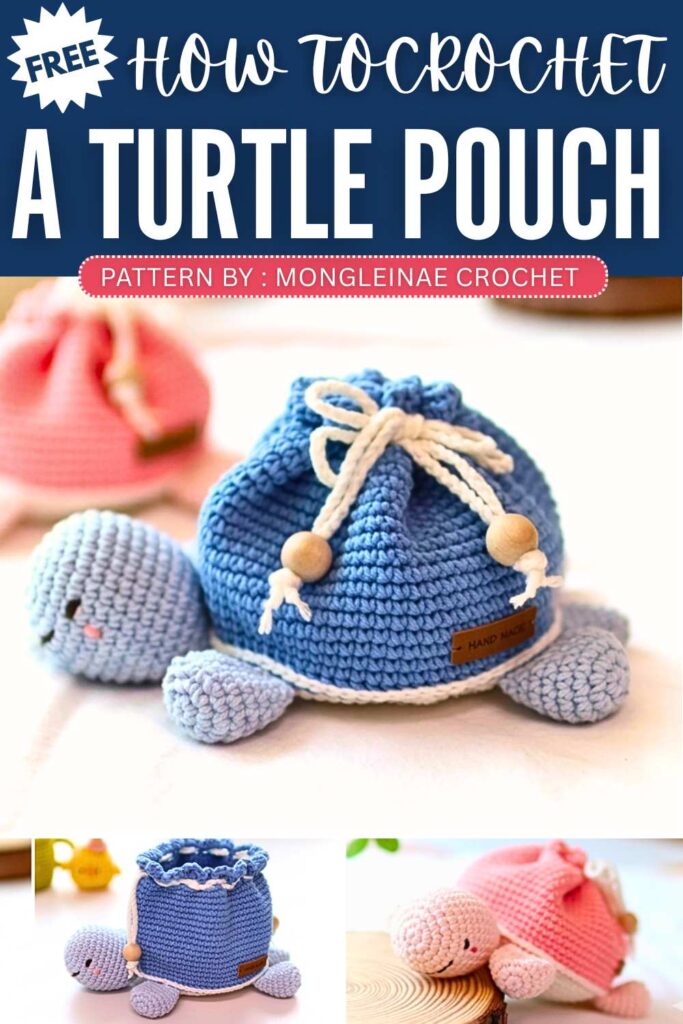
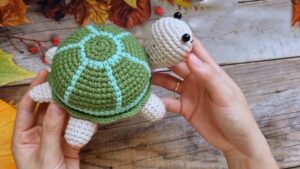
The designer of this pattern is @mongleinae. She makes themed crochet pouches and little decorations that are always elegant and gift-ready. In one word, she is among the most CREATIVE crochet designers whose work I have covered so far. Just take a look at her octopus pouch!
Be sure to subscribe to her channel for more of creative crochet patterns and to support her
Step by Step Pattern:
Materials List
Main Yarn: Medium-thick yarn (Pink, Green, or your preferred color).
Belly Yarn: White or Cream.
Black Yarn: A small amount for embroidering the eyes.
Hook: 3.0mm to 4.0mm (depending on yarn thickness).
Other: Fiberfill stuffing for the head, tapestry needle, scissors, and a drawstring cord (made from chains).
Abbreviation List
MR: Magic Ring
ch: Chain
sc: Single crochet
inc: Increase (2 sc in one stitch)
dec: Decrease (Invisible decrease recommended)
st(s): Stitch(es)
dc: Double crochet
sl st: Slip stitch
BPSC: Back post single crochet (or working in the back loop to create a ridge)
Step-by-Step Pattern
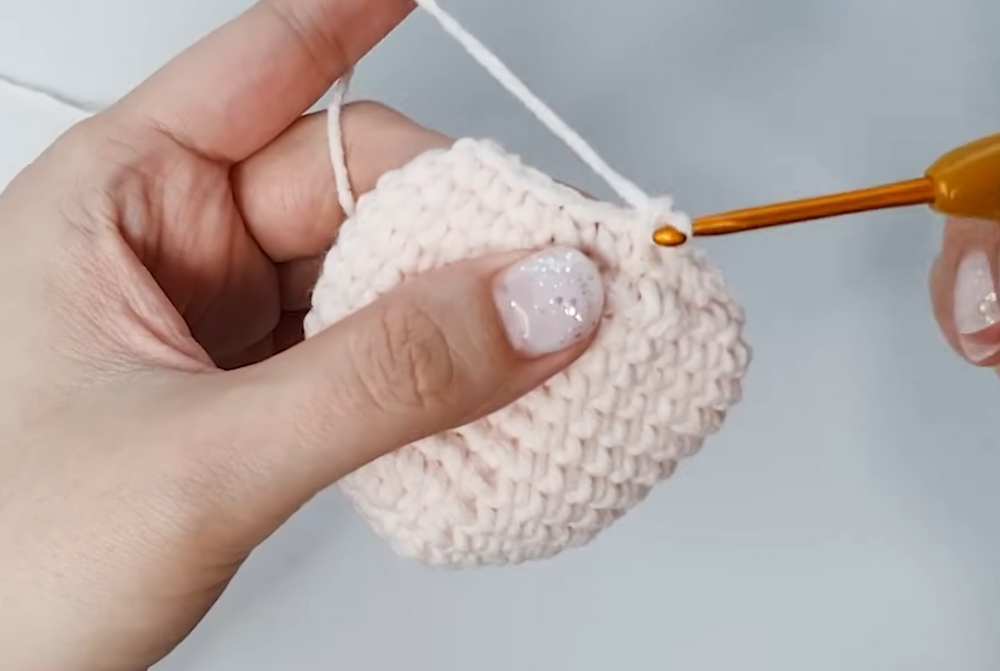
Part 1: The Head
R1: MR, 6 sc (6)
R2: 6 inc (12)
R3: (1 sc, inc) x6 (18)
R4: (2 sc, inc) x6 (24)
R5: (1 sc, inc, 2 sc) x6 to keep it round (30)
R6–13: 30 sc around (30)
R14: (3 sc, dec) x6 (24)
R15: (2 sc, dec) x6 (18)
R16: (1 sc, dec) x6 (12). Fasten off, leaving a short tail. Stuff firmly.
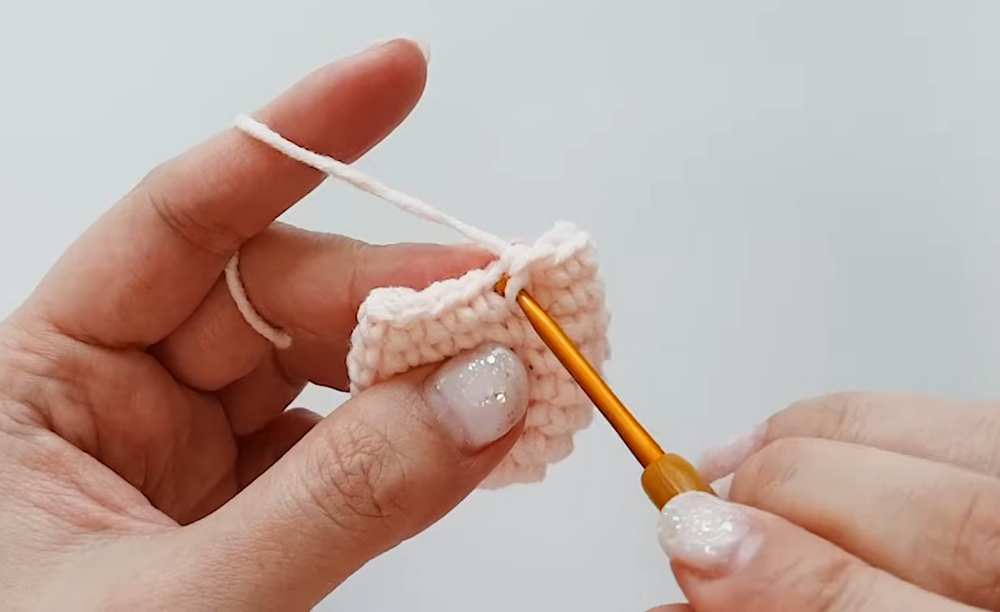
Part 2: Legs (Make 4) & Tail
Legs:
R1: MR, 6 sc (6)
R2: 6 inc (12)
R3: (1 sc, inc) x6 (18)
R4–6: 18 sc around (18)
R7: (4 sc, dec) x3 (15)
R8: 15 sc around (15)
R9: (3 sc, dec) x3 (12). Fasten off.
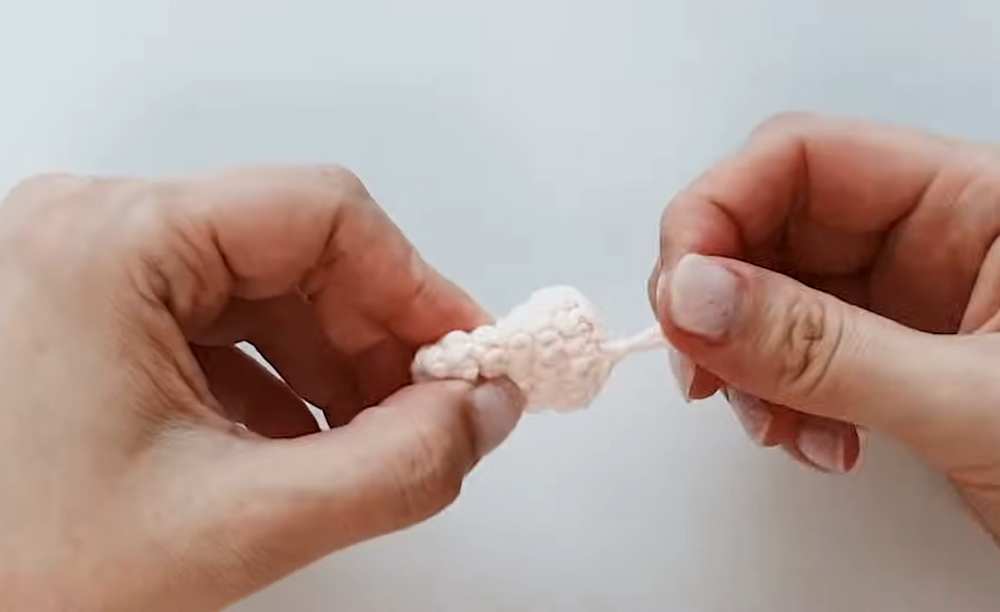
Tail:
R1: MR, 6 sc (6)
R2: 6 sc around (6). Turn inside out.
R3: (1 sc, inc) x3 (9)
R4: 9 sc around (9)
R5: (2 sc, inc) x3 (12)
R6: 12 sc around (12). Fasten off.
Part 3: The Belly & Joining
R1–11: Crochet a flat circle starting with 7 sc in a MR, increasing by 7 every round until you have 77 sts.
Joining Row: Hold the belly and limbs together. Join using sc through both layers:
6 sc through Tail and Belly.
3 sc on Belly only.
6 sc through First Leg and Belly.
14 sc on Belly only.
6 sc through Second Leg and Belly.
3 sc on Belly only.
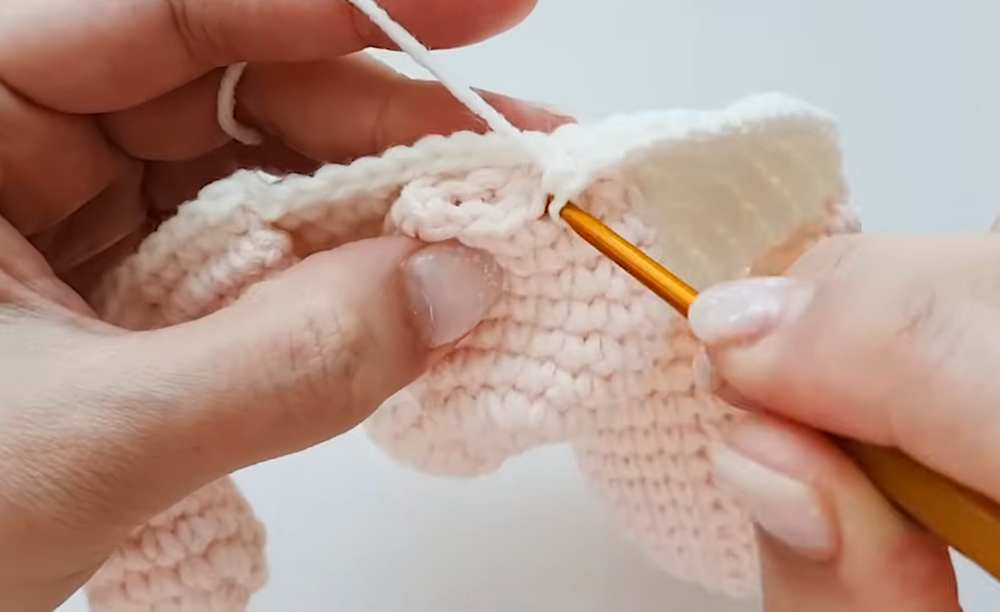
6 sc through Head and Belly.
3 sc on Belly only.
6 sc through Third Leg and Belly.
15 sc on Belly only.
6 sc through Fourth Leg and Belly.
3 sc on Belly only. (Total 77 sts).
Part 4: The Shell (Pouch Body)
R1: Change to shell color. Work BPSC (or through the back loop) for 77 sts to create a sharp edge.
R2–18: 77 sc around (77).
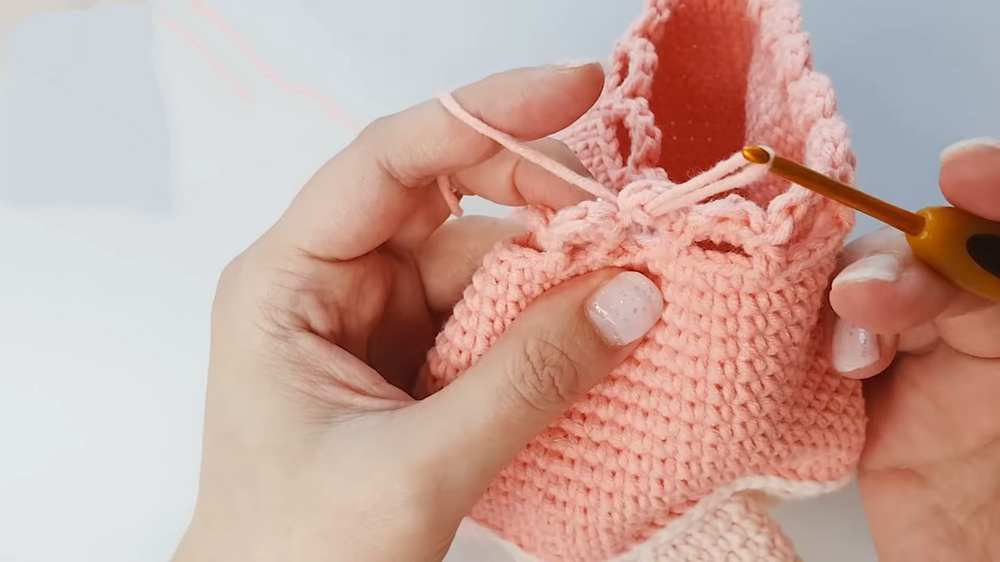
R19 (Eyelet Row): (Ch 3, skip 3, dc in 4th st) x10. This creates the holes for the drawstring.
R20 (Ruffle Edge): In each ch-space, work (sl st, 3 dc, sl st) to create a decorative shell border.
Part 5: Finishing
Drawstring: Ch 80–100 (make two). Thread them through the eyelet row in opposite directions.
Face: Embroider the eyes with black yarn on the sides of the head.
- Assembly: Ensure all yarn tails are tucked inside the pouch. The limbs will naturally stick out from the base.
Video Tutorial:
You may also like
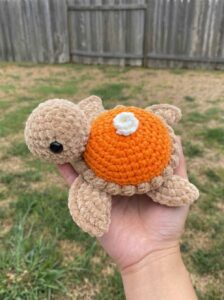
Crochet Amigurumi Turtle Keychain Pattern Free
Free Crochet Pumpkin Pie Turtle Amigurumi Pattern for Kids
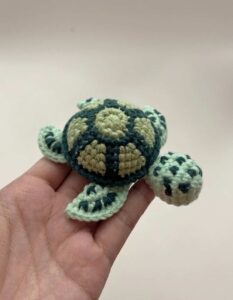
Chubby Cheeks: How to Crochet Spotted Sea Turtle Amigurumi Tutorial for Summer
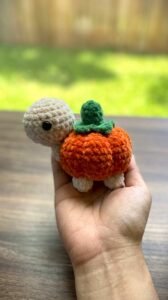
Crochet Pumpkin Baby Turtle Amigurumi for Fall & Halloween
5 Free Crochet Turtle Patterns for Kids