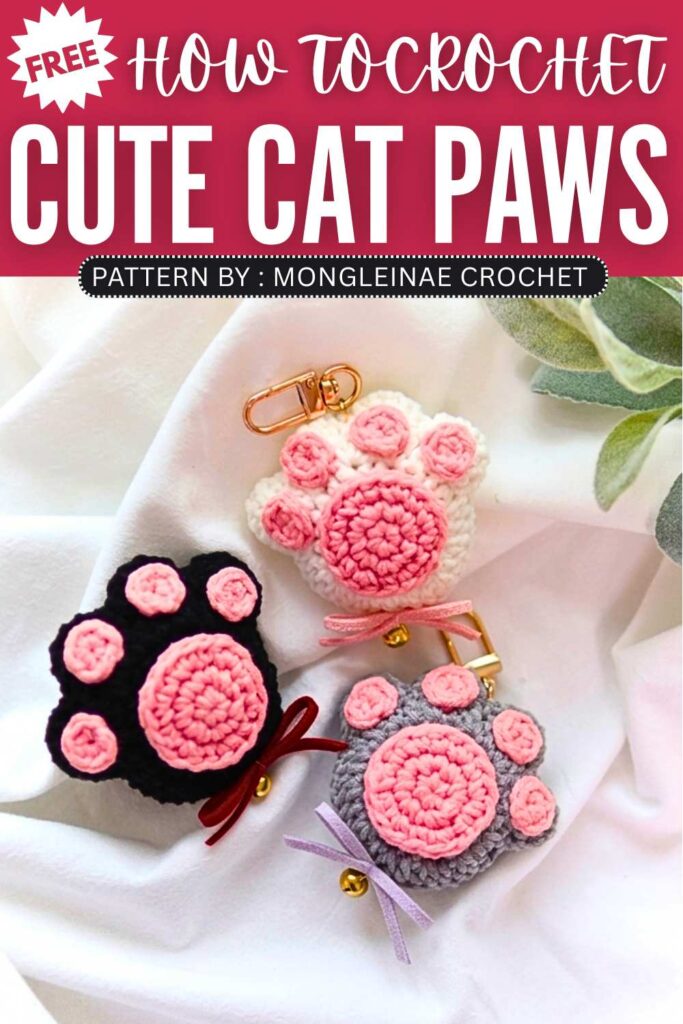
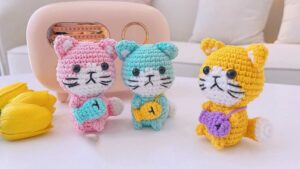
Free Crochet Cat Paw Keychain Pattern For Gifting
Add a cute handmade touch to your keys with this soft cat paw crochet keyring. The project starts by shaping the paw base with simple crochet rounds, then forms the toe sections for a realistic paw look. Small paw pads are made separately and sewn onto the front. After stuffing and joining the pieces together, the keyring becomes soft and squishy. Ribbons, bells, or colorful yarn can be added to make it even more adorable.
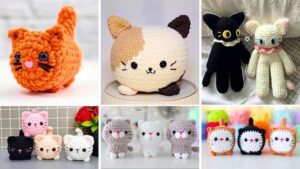
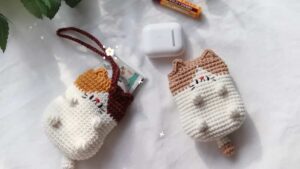
The designer of this pattern is @mongleinae. She makes themed crochet pouches and little decorations that are always elegant and gift-ready. In one word, she is among the most CREATIVE crochet designers whose work I have covered so far. Just take a look at her octopus pouch!
Be sure to subscribe to her channel for more of creative crochet patterns and to support her
Step by Step Pattern:
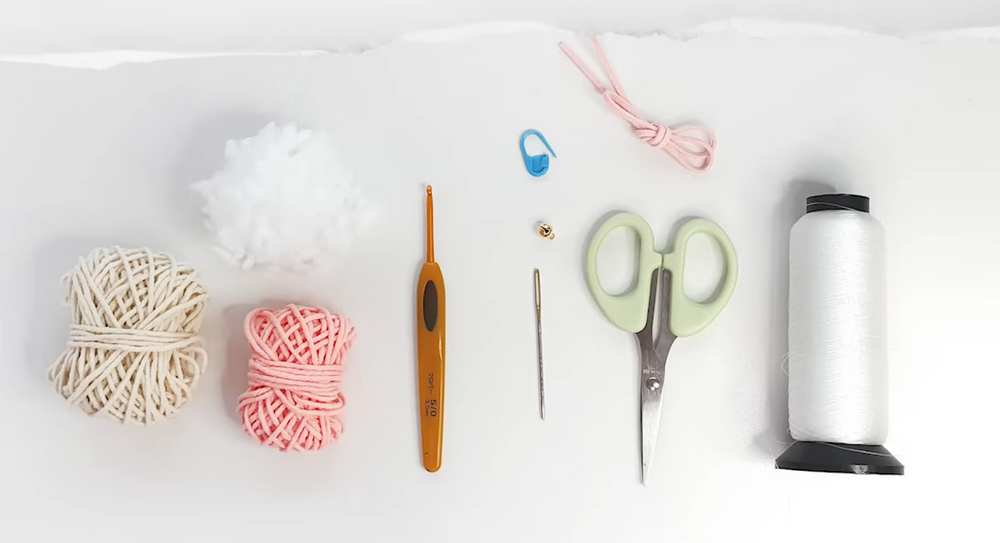
Materials List
Yarn: Cotton or acrylic yarn in two colors (Main color for the paw and a contrasting color for the pads).
Hook: 3.0mm (Size 5/0).
Filling: Polyester fiberfill (stuffing).
Tools: Stitch markers, yarn needle, scissors, and keychain ring/bell (optional).
Abbreviation List
MR: Magic Ring
Ch: Chain
Sc: Single Crochet
Hdc: Half Double Crochet
Inc: Increase (2 stitches in one)
Sl st: Slip stitch
Hdc-Inc: Half double crochet increase (2 hdc in one stitch)
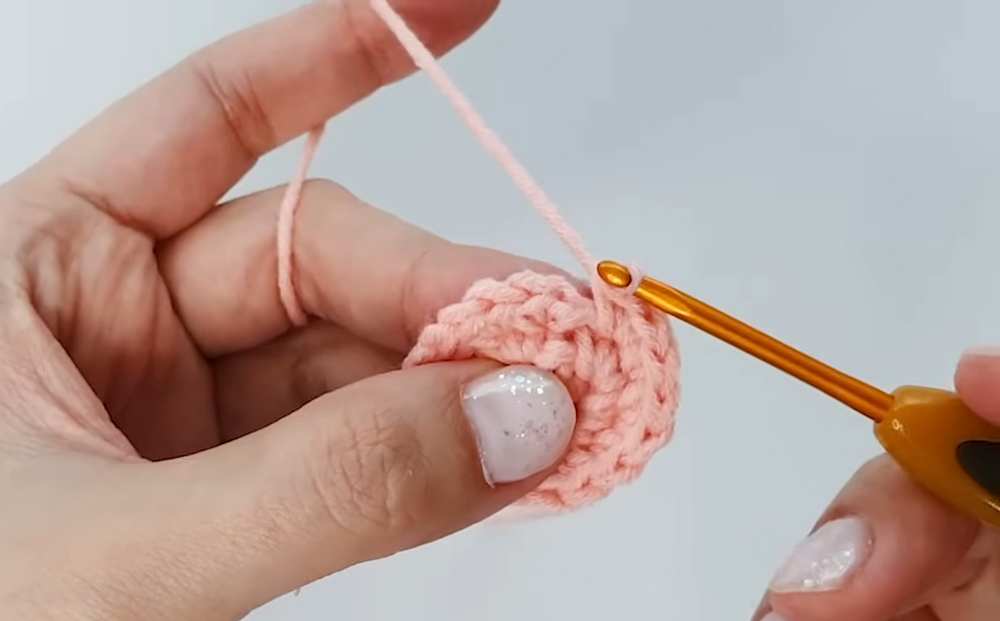
1. Main Paw Body (Make 2)
Use the main color.
R1: MR, Ch 2 (counts as first hdc), 11 Hdc into the ring. Sl st to the top of Ch 2 to join. (12)
R2: Ch 2, 1 Hdc in the same stitch. 11 Hdc-Inc. Sl st to join. (24)
R3: Ch 2, 1 Hdc-Inc in the next stitch. (1 Hdc, 1 Hdc-Inc) repeat until end. Sl st to join. (36)
R4 (Toe Shaping):
Skip 1 stitch, 6 Hdc in the next stitch.
Skip 1 stitch, Sl st in the next.
(Skip 1 stitch, 6 Hdc in the next, skip 1 stitch, Sl st in the next) repeat 3 more times to create 4 toes total.
Finish: For the first piece, fasten off with a short tail. For the second piece, leave a very long tail for assembly.

2. Paw Pads (Appliqués)
Use the contrasting color.
Large Center Pad (Make 1 per side):
R1: MR, 6 Sc. Sl st to join.
R2: 6 Inc. Sl st to join. (12)
R3: (1 Sc, 1 Inc) × 6. Sl st to join. (18)
Finish: Fasten off, leaving a long tail for sewing.
Small Toe Pads (Make 4 per side):
R1: MR, 6 Sc. Sl st to join.
Finish: Fasten off, leaving a long tail for sewing.
3. Assembly
Attach Pads: Using a yarn needle and the long tails, sew the large pad to the center of one main body piece. Sew the four smaller pads onto the toes. Repeat for the second body piece if desired, or leave the back plain.
Join Pieces: Place the two main body pieces together with the “wrong” sides facing each other.
Seam: Using the long tail from the body, whipstitch through both layers (the V-shaped stitches) around the edges.
Stuff: Before closing the seam completely, fill the paw with a small amount of fiberfill to give it a puffy shape.
Close: Finish sewing the remaining gap, fasten off, and weave in the ends.
Final Touch: Attach a keychain ring or a decorative ribbon to the top of the paw.

Video Tutorial:
You may also like
Free Crochet Amigurumi Cat Holding Fish Pattern

Yuez: Crochet Pumpkin Cat Keychain Plushie Pattern for Halloween
Crochet Cat Pouch & Bag Charm Pattern Free

Crochet Heart Tail Cat Pattern For Valentines Day
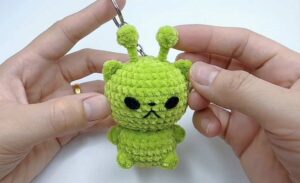
Crochet Cat Alien Plush Toy Amigurumi Pattern