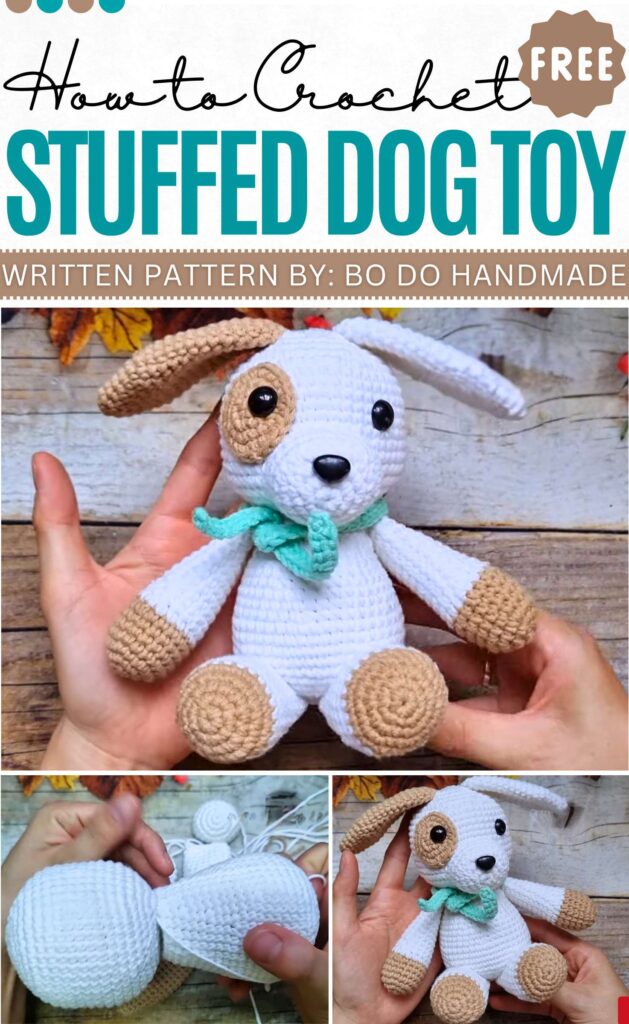
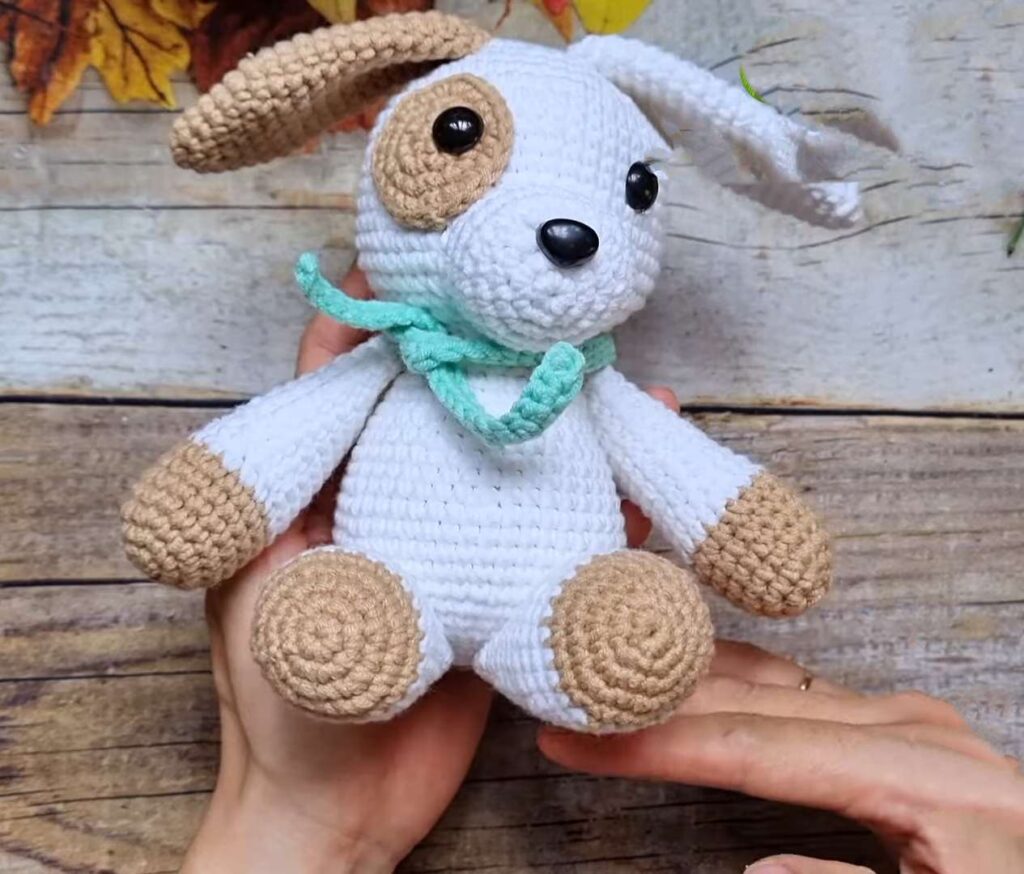
Free Crochet Stuffed Dog Pattern for Kids
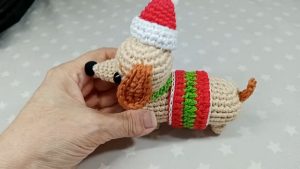
Learn how to crochet a cute stuffed dog amigurumi with a free written pattern and a tutorial. This will be a sitting amigurumi puppy with the spotted eye, an ear, and a little crochet scarf.
This will be a little crochet doll gift for a little one, and it works up fast. The pattern will be written in both the US and UK terms. So, you are good to go with this stuffed puppy.
Crochet Stuffed Dog – The Puppy
About Designer
Bi Do Handmade is an expert in crocheting and designing crochet amigurumi, bag charms, and pouches. Her tutorials always have detailed written instructions in two languages on the screen. So, make sure to subscribe to her channel.
Note: For this amigurumi in particular, we shall share the written pattern that is complete and checked.
Crochet Stuffed Dog Amigurumi Pattern
Below is the complete written pattern for crocheting this puppy dog amigurumi. Note that this pattern is written using both US and UK instructions:
Abbreviations
While writing this stuffed dog pattern, I have used the following abbreviations and tools:
MR: Magic Ring
ch: Chain
sc: Single Crochet
inc: Increase (2 sc in one stitch)
dec: Decrease (sc 2 together)
sl st: Slip Stitch
FO: Fasten Off
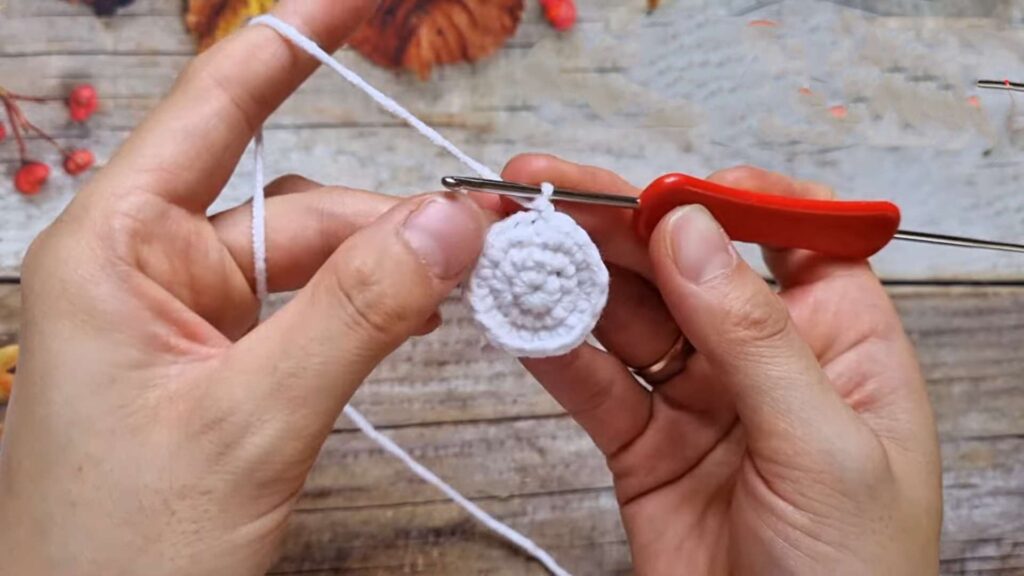
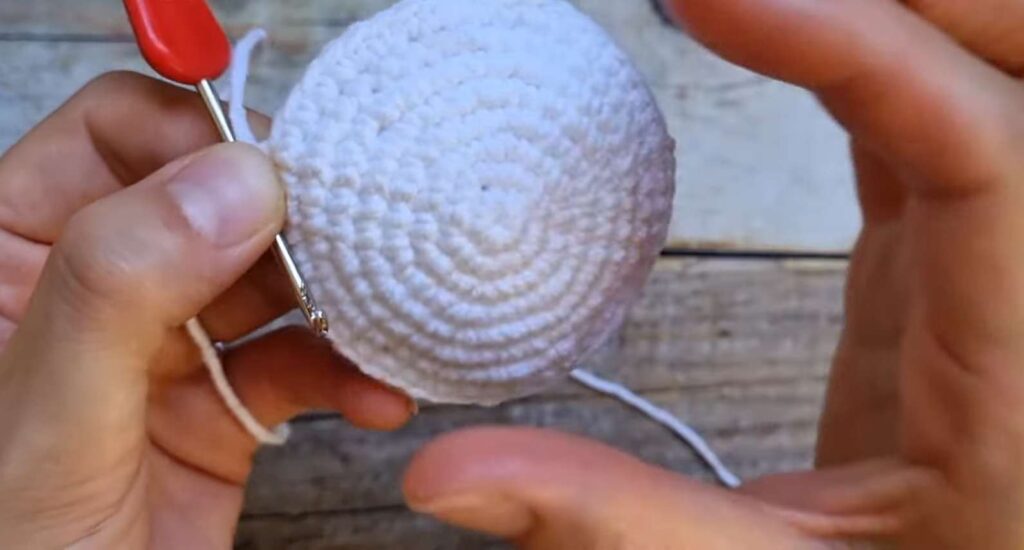
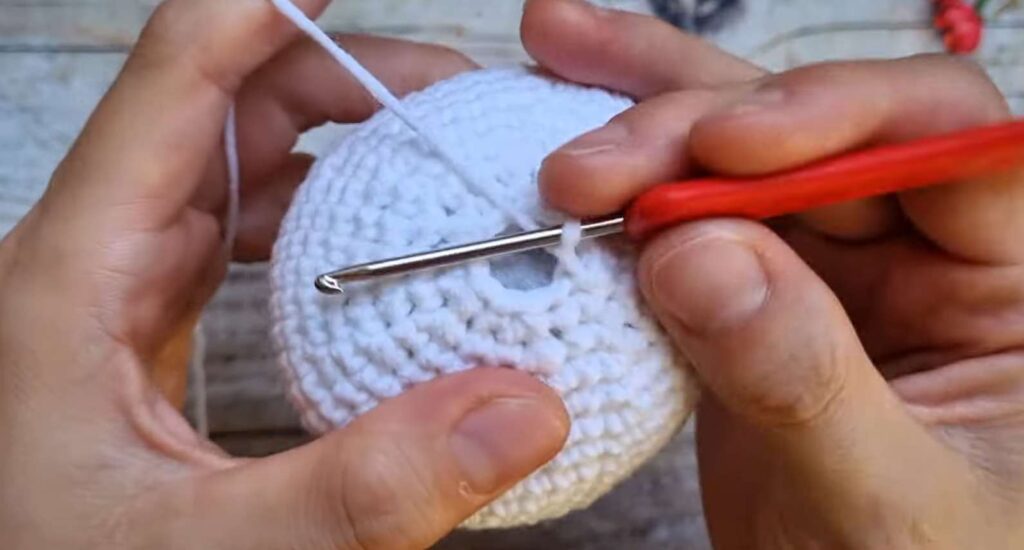
Head
R1: MR, 6 sc (6)
R2: 6 inc (12)
R3: (1 sc, inc) * 6 (18)
R4: (1 sc, inc, 1 sc) * 6 (24)
R5: (3 sc, inc) * 6 (30)
R6: (2 sc, inc, 2 sc) * 6 (36)
R7: (5 sc, inc) * 6 (42)
R8: (3 sc, inc, 3 sc) * 6 (48)
R9–18: 48 sc (48)
R19: (3 sc, dec, 3 sc) * 6 (42)
R20: (5 sc, dec) * 6 (36)
R21: (2 sc, dec, 2 sc) * 6 (30)
R22: (3 sc, dec) * 6 (24)
R23: (1 sc, dec, 1 sc) * 6 (18)
Stuff with fiberfill.
R24: (1 sc, dec) * 6 (12)
R25: 6 dec (6)
FO, weave in ends.
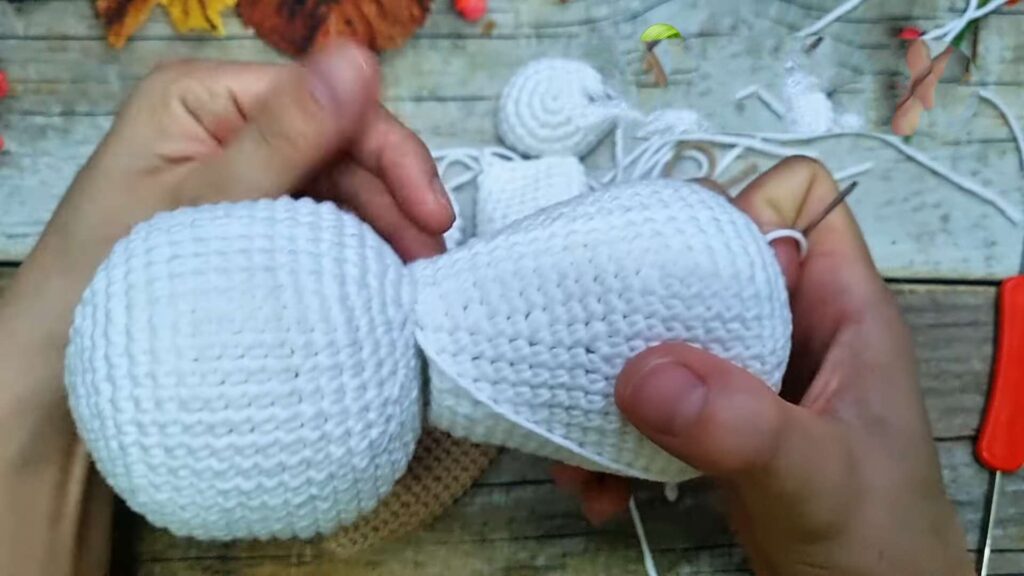
Body
R1–13: Follow Head R1–13 (48 stitches at R8)
R14: (3 sc, dec, 3 sc) * 6 (42)
R15–16: 42 sc (42)
R17: (5 sc, dec) * 6 (36)
R18–19: 36 sc (36)
R20: (2 sc, dec, 2 sc) * 6 (30)
R21–22: 30 sc (30)
R23: (3 sc, dec) * 6 (24)
FO, leave long tail for sewing.
Snout
R1–4: Follow Head R1–4 (24)
R5–7: 24 sc (24)
FO, leave tail for sewing.
Eye Patches (Make 2)
R1–4: Follow Head R1–4 (24)
FO.
Ears (Make 2)
R1: MR, 6 sc (6)
R2: (2 sc, inc) * 2 (8)
R3: (3 sc, inc) * 2 (10)
R4: (4 sc, inc) * 2 (12)
R5: (5 sc, inc) * 2 (14)
R6: (6 sc, inc) * 2 (16)
R7: (7 sc, inc) * 2 (18)
R8–17: 18 sc (18)
R18: (4 sc, dec) * 3 (15)
R19: (3 sc, dec) * 3 (12)
FO, leave tail. Do not stuff.
Arms (Make 2)
R1–3: Follow Head R1–3 (18)
R4–7: 18 sc (18)
Change color.
R8: 18 sc (18)
R9: (4 sc, dec) * 3 (15)
R10–19: 15 sc (15)
Stuff lightly. FO.
Legs (Make 2)
R1–4: Follow Head R1–4 (24)
R5: 24 sc (24)
Change color.
R6–8: 24 sc (24)
R9: (6 sc, dec) * 3 (21)
R10–12: 21 sc (21)
R13: (5 sc, dec) * 3 (18)
R14–16: 18 sc (18)
R17: (4 sc, dec) * 3 (15)
R18: 15 sc (15)
Stuff lightly. Flatten top, sc 7 across to close. FO.
Tail
R1–3: Follow Head R1–3 (18)
R4–6: 18 sc (18)
FO, leave tail.
Scarf
Ch 50–60.
Row 1: sc in each ch across.
FO.
Assembly
Sew body to head.
Sew legs to bottom of body (angled forward).
Sew tail to back for balance.
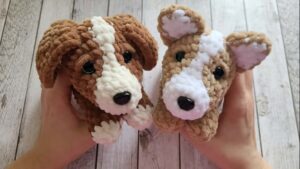
Sew snout to center of face; sew eyes above snout.
Sew arms to sides of body (45° angle).
Sew ears to top of head between R3 and R5.
Embroider nose/details and tie scarf around neck.
UK Pattern
Abbreviations (UK Terms)
MR: Magic Ring
ch: Chain
dc: Double Crochet (equivalent to US Single Crochet)
inc: Increase (2 dc in one stitch)
dec: Decrease (dc 2 together)
sl st: Slip Stitch
FO: Fasten Off
Head
R1: MR, 6 dc (6)
R2: 6 inc (12)
R3: (1 dc, inc) * 6 (18)
R4: (1 dc, inc, 1 dc) * 6 (24)
R5: (3 dc, inc) * 6 (30)
R6: (2 dc, inc, 2 dc) * 6 (36)
R7: (5 dc, inc) * 6 (42)
R8: (3 dc, inc, 3 dc) * 6 (48)
R9–18: 48 dc (48)
R19: (3 dc, dec, 3 dc) * 6 (42)
R20: (5 dc, dec) * 6 (36)
R21: (2 dc, dec, 2 dc) * 6 (30)
R22: (3 dc, dec) * 6 (24)
R23: (1 dc, dec, 1 dc) * 6 (18)
Stuff with fiberfill.
R24: (1 dc, dec) * 6 (12)
R25: 6 dec (6)
FO, weave in ends.
Body
R1–13: Follow Head R1–13 (48 stitches at R8)
R14: (3 dc, dec, 3 dc) * 6 (42)
R15–16: 42 dc (42)
R17: (5 dc, dec) * 6 (36)
R18–19: 36 dc (36)
R20: (2 dc, dec, 2 dc) * 6 (30)
R21–22: 30 dc (30)
R23: (3 dc, dec) * 6 (24)
FO, leave long tail for sewing.
Snout
R1–4: Follow Head R1–4 (24)
R5–7: 24 dc (24)
FO, leave tail for sewing.
Eye Patches (Make 2)
R1–4: Follow Head R1–4 (24)
FO.
Ears (Make 2)
R1: MR, 6 dc (6)
R2: (2 dc, inc) * 2 (8)
R3: (3 dc, inc) * 2 (10)
R4: (4 dc, inc) * 2 (12)
R5: (5 dc, inc) * 2 (14)
R6: (6 dc, inc) * 2 (16)
R7: (7 dc, inc) * 2 (18)
R8–17: 18 dc (18)
R18: (4 dc, dec) * 3 (15)
R19: (3 dc, dec) * 3 (12)
FO, leave tail. Do not stuff.
Arms (Make 2)
R1–3: Follow Head R1–3 (18)
R4–7: 18 dc (18)
Change colour.
R8: 18 dc (18)
R9: (4 dc, dec) * 3 (15)
R10–19: 15 dc (15)
Stuff lightly. FO.
Legs (Make 2)
R1–4: Follow Head R1–4 (24)
R5: 24 dc (24)
Change colour.
R6–8: 24 dc (24)
R9: (6 dc, dec) * 3 (21)
R10–12: 21 dc (21)
R13: (5 dc, dec) * 3 (18)
R14–16: 18 dc (18)
R17: (4 dc, dec) * 3 (15)
R18: 15 dc (15)
Stuff lightly. Flatten top, dc 7 across to close. FO.
Tail
R1–3: Follow Head R1–3 (18)
R4–6: 18 dc (18)
FO, leave tail.
Scarf
Ch 50–60.
Row 1: dc in each ch across.
FO.
Assembly
Sew body to head.
Sew legs to bottom of body (angled forward).
Sew tail to back for balance.
Sew snout to centre of face; sew eyes above snout.
Sew arms to sides of body (45° angle).
Sew ears to top of head between R3 and R5.
Embroider nose/details and tie scarf around neck.

You may also like
How to Crochet Cute Dog Plushies for Kids
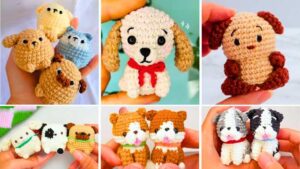
11 Crochet Mini Dog Amigurumi Tutorials for Kids
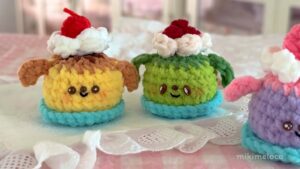
How to Crochet Dog Pudding Plushies for Gifting
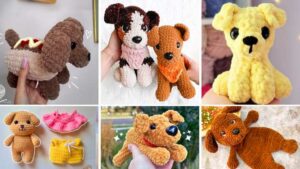
How to Crochet Dog Plushies for Little Ones
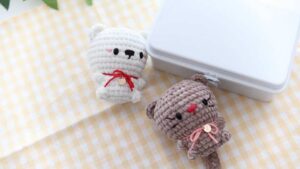
Free Crochet Animal Plush Pattern ( Cat & Dog )