
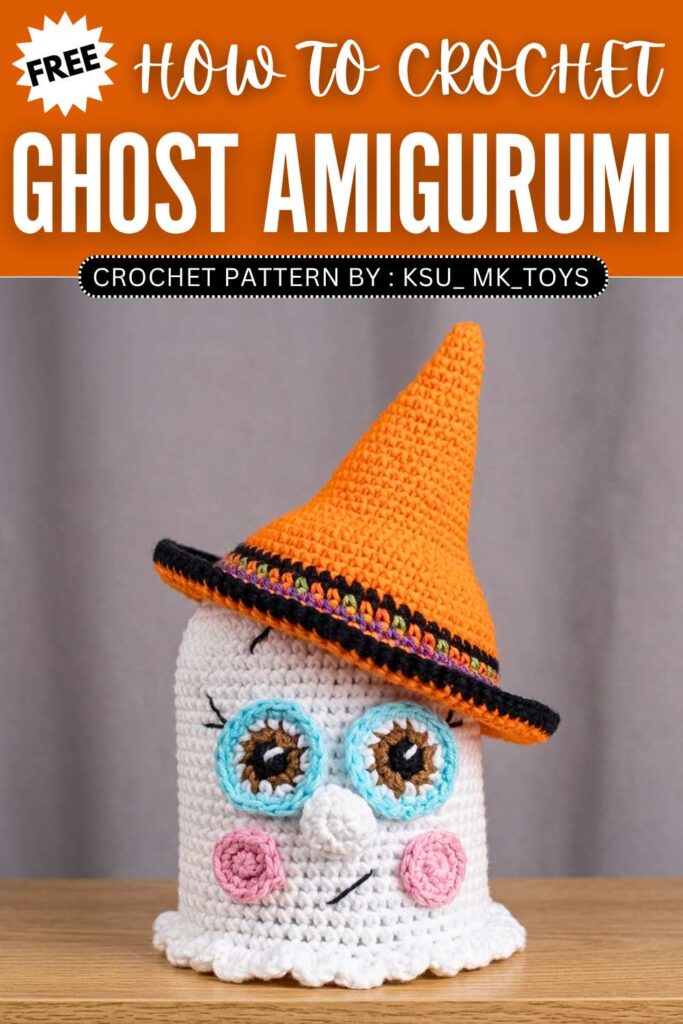
Mk_toys: Crochet Ghost with Spooky Eyes & Witch Hat for Halloween
Learn how to crochet this UNIQUE crochet baby ghost in a witch hat amigurumi with a FREE written pattern and a tutorial as well. This crochet ghost has the crochet spooky eyes that actually look cute instead of being spooky, the crochet blush, nose and eyebrows and eyelash embroidery, too. You will learn crocheting both the baby ghost and the witch hat with this pattern.
Crochet Baby Ghost Amigurumi with Spooky Eyes
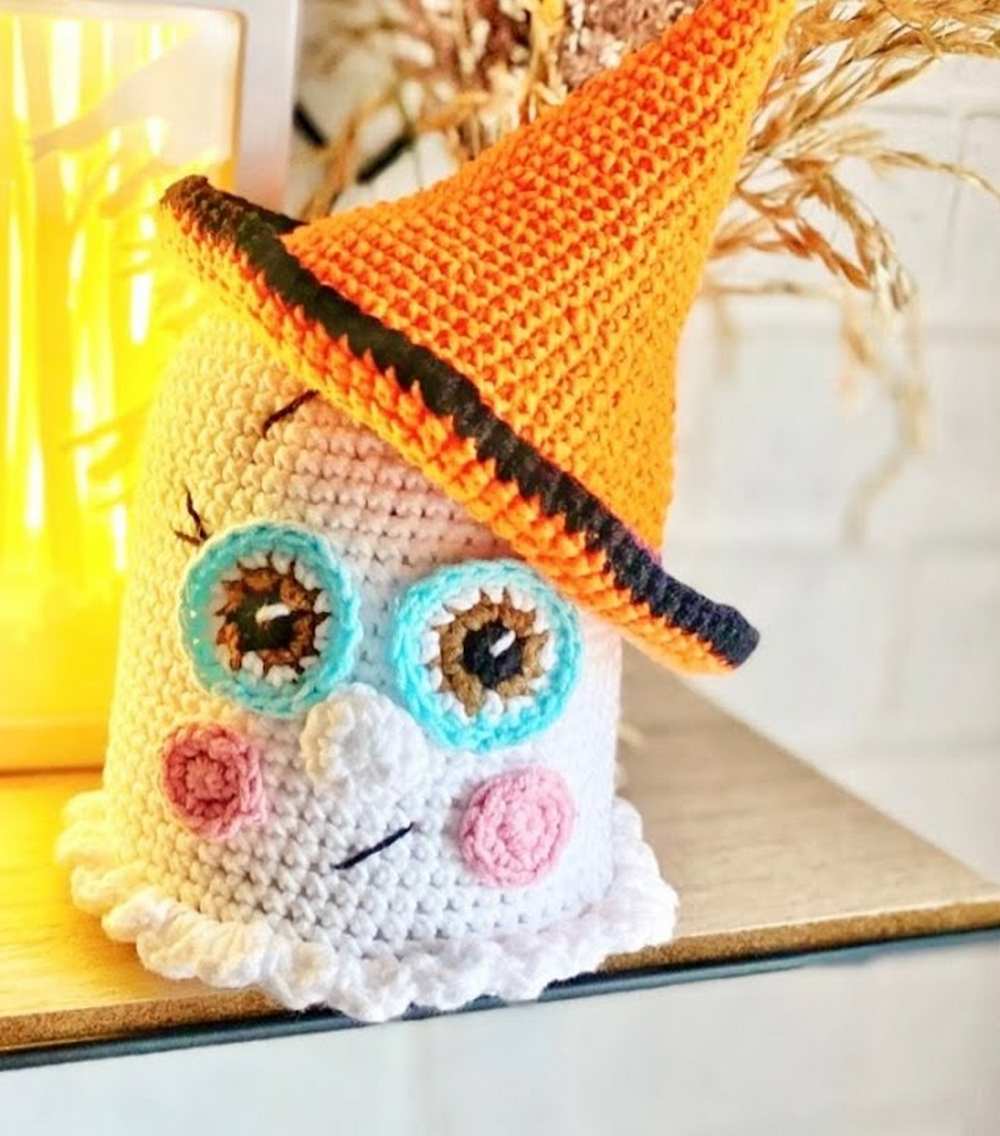
Unlike the crochet puppet ghost, this crochet ghost is actually stuffed with fiberfill. So, you can also place it on your Halloween table and welcome the guests. Crocheting this baby ghost amigurumi won’t take more than 1 hour to complete. Now, continue reading for the full crochet pattern to make this ghost plush.
How to Crochet Baby Ghost in a Witch Hat Amigurumi
Crochet a cute amigurumi ghost wearing a witch hat. The first part covers the main body of the ghost, the flat base to help it stand, and the witch hat.
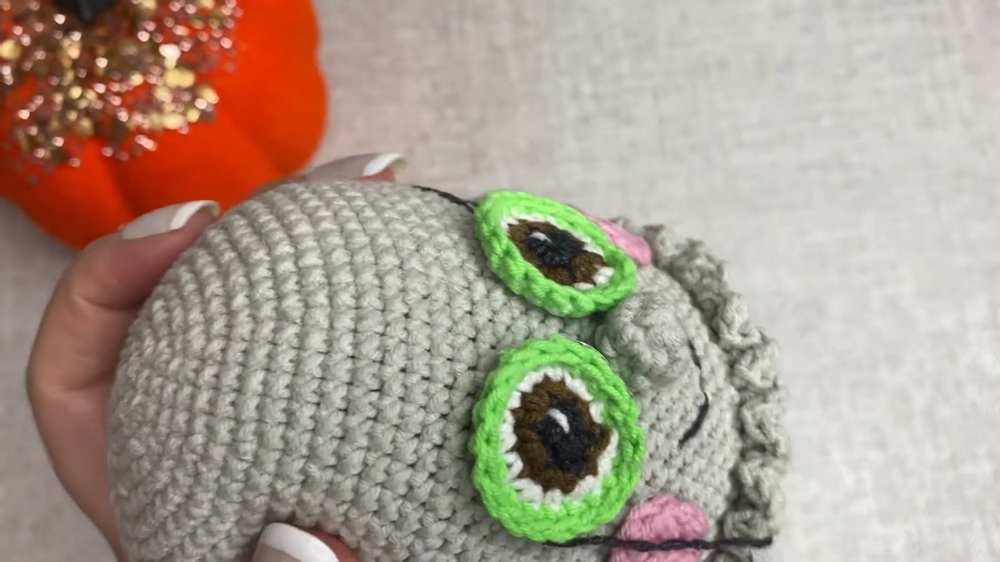
The second part details how to crochet and assemble the facial features, including the large, multi-colored eyes, a small nose, rosy cheeks, and embroidered details like eyebrows, eyelashes, and a smiling mouth. The end result is a detailed, slightly whimsical ghost perfect for Halloween decoration or as a handmade toy.
Materials Needed
Yarn: YarnArt Jeans (or similar sport weight yarn) in:
Grey (main color for the ghost body).
Orange (for the hat).
Purple (for the hat band).
Black (for the hat brim and eye details).
Pink (for the cheeks).
White, Brown, and Green/Blue (for the eyes).
Crochet Hook: 1.7 mm.
Stuffing: Fiberfill.
Tools: Stitch marker, scissors, yarn needle, compass/pencil, hot glue gun, and a piece of cardboard or thick plastic (for the base).
Abbreviations (UK Terms)
MR: Magic Ring
ch: chain
dc: double crochet (US single crochet)
inc: increase (2 dc in one stitch)
dec: decrease (dc 2 stitches together)
tr: treble crochet (US double crochet)
sl st: slip stitch
BLO: back loop only
FLO: front loop only
st(s): stitch(es)
Pattern Instructions
1. The Ghost Body (Use Grey Yarn)
Rnd 1: 6 dc in MR
Rnd 2: 6 inc
Rnd 3: (1 dc, inc) x 6
Rnd 4: 1 dc, inc, (2 dc, inc) x 5, 1 dc
Rnd 5: (3 dc, inc) x 6
Rnd 6: 2 dc, inc, (4 dc, inc) x 5, 2 dc
Rnd 7: (5 dc, inc) x 6
Rnd 8: 3 dc, inc, (6 dc, inc) x 5, 3 dc
Rnd 9: (7 dc, inc) x 6
Rnd 10: 4 dc, inc, (8 dc, inc) x 5, 4 dc
Rnds 11-34: 60 dc
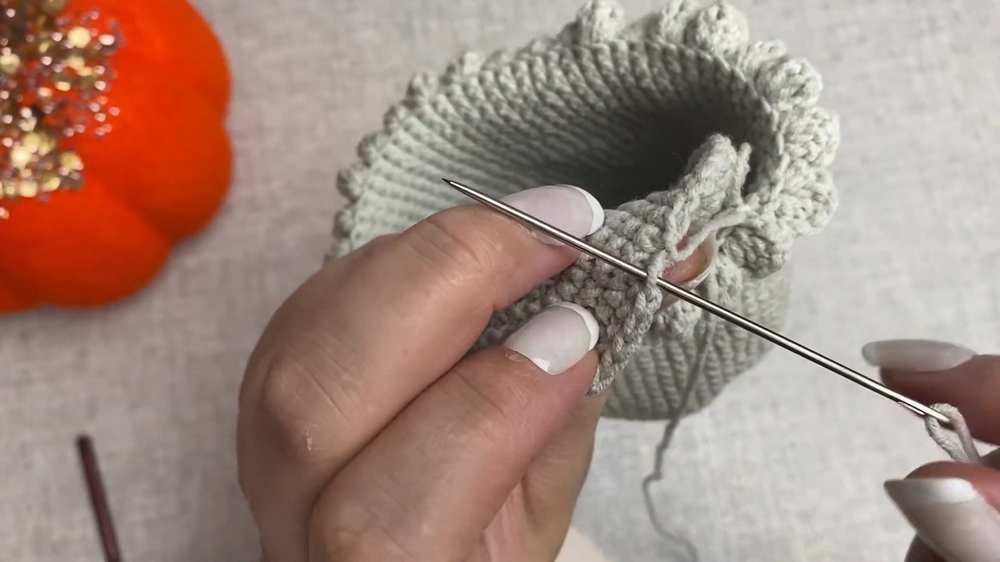
Rnd 35 (Skirt Ruffle): Work this entire round in FLO (Front Loops Only). (Sl st, in the next st work 4 tr) x 30.
Fasten off, weave in the ends, and hide them inside the body. The unworked back loops from Round 34 will be used later to attach the base.
2. The Base (Use Grey Yarn)
Rnd 1: 6 dc in MR
Rnd 2: 6 inc
Rnd 3: (1 dc, inc) x 6
Rnd 4: 1 dc, inc, (2 dc, inc) x 5, 1 dc
Rnd 5: (3 dc, inc) x 6
Rnd 6: 2 dc, inc, (4 dc, inc) x 5, 2 dc
Rnd 7: (5 dc, inc) x 6
Rnd 8: 3 dc, inc, (6 dc, inc) x 5, 3 dc
Rnd 9: (7 dc, inc) x 6
Rnd 10: 4 dc, inc, (8 dc, inc) x 5, 4 dc
Fasten off and leave a very long tail for sewing the base to the body later.
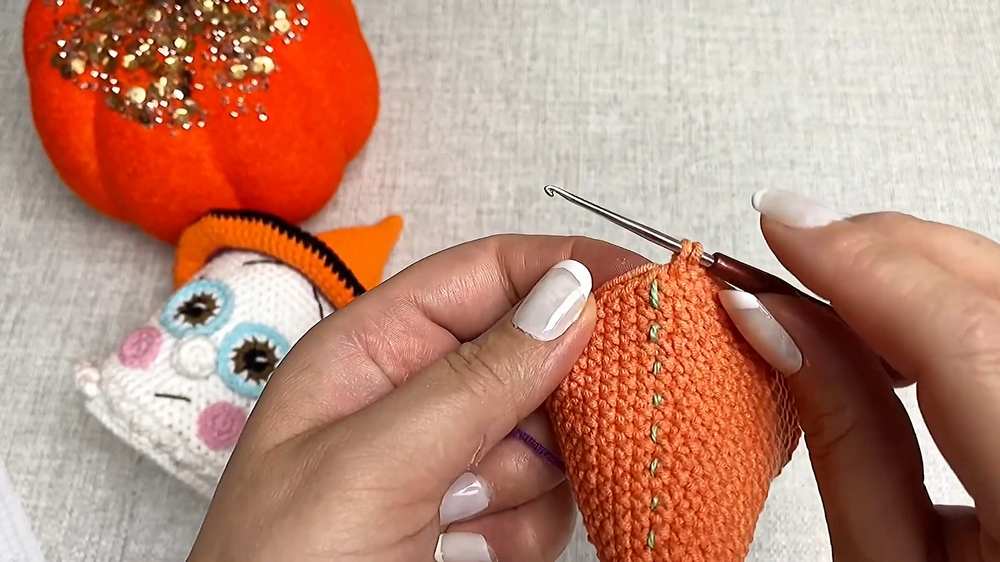
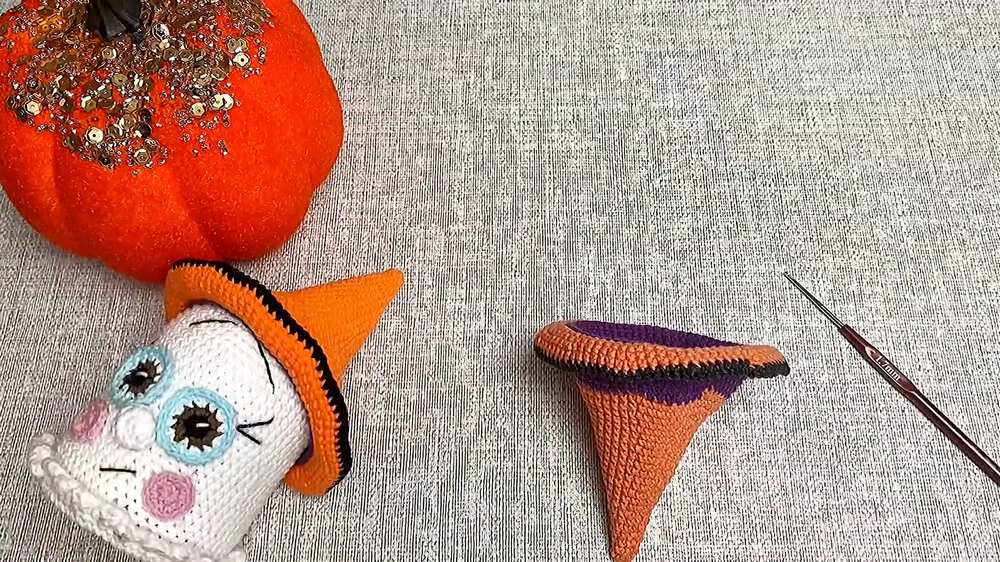
3. The Witch Hat (Start with Orange Yarn)
Rnd 1: 6 dc in MR
Rnd 2: 6 dc
Rnd 3: (1 dc, inc) x 3
Rnd 4: 9 dc
Rnd 5: (2 dc, inc) x 3
Rnds 6-7: 12 dc
Rnd 8: (1 dc, inc) x 6
Rnds 9-10: 18 dc
Rnd 11: (2 dc, inc) x 6
Rnds 12-13: 24 dc
Rnd 14: (3 dc, inc) x 6
Rnds 15-16: 30 dc
Rnd 17: (4 dc, inc) x 6
Rnds 18-19: 36 dc
Rnd 20: (5 dc, inc) x 6
Rnd 21: 42 dc
Rnd 22: (6 dc, inc) x 6
Rnd 23: 48 dc
Rnd 24: (7 dc, inc) x 6
In the final stitch of Round 24, change to Purple yarn. Do not cut the Orange yarn; carry it inside.
Rnd 25 (With Purple): 54 dc
Rnd 26: (8 dc, inc) x 6
Rnd 27: (9 dc, inc) x 6
Rnds 28-30: 66 dc
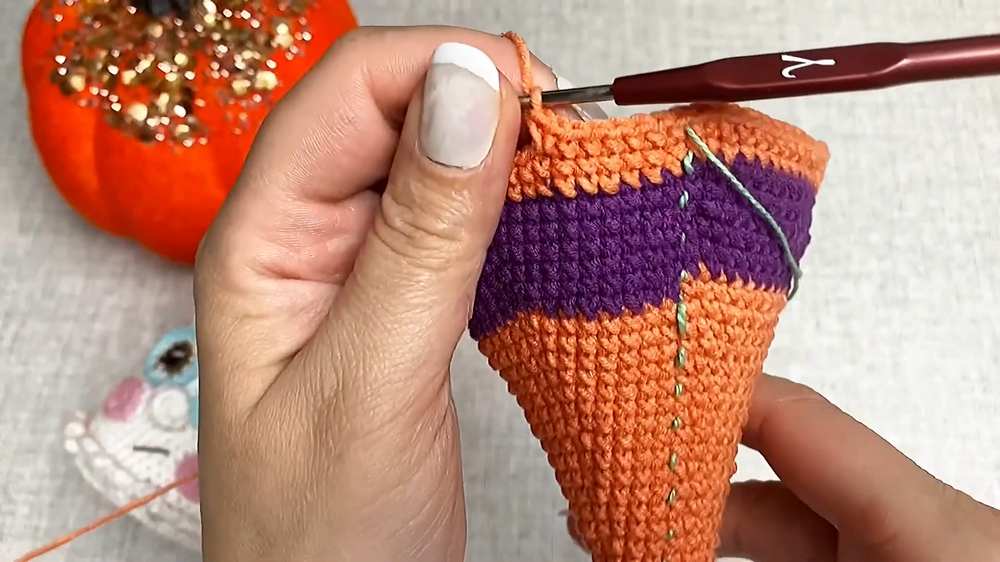
In the final stitch of Round 30, change back to Orange yarn. Cut the Purple yarn and crochet over the tail to hide it.
Rnd 31 (With Orange): Work this round in FLO (Front Loops Only). (10 dc, inc) x 6
Rnd 32: 5 dc, inc, (11 dc, inc) x 5, 6 dc
Rnd 33: 6 dc, inc, (12 dc, inc) x 5, 6 dc
Rnd 34: 6 dc, inc, (13 dc, inc) x 5, 7 dc
In the final stitch of Round 34, change to Black yarn. Cut the Orange yarn.
Rnd 35 (With Black): 7 dc, inc, (14 dc, inc) x 5, 7 dc
Fasten off, perform an invisible finish, and weave in the end neatly.
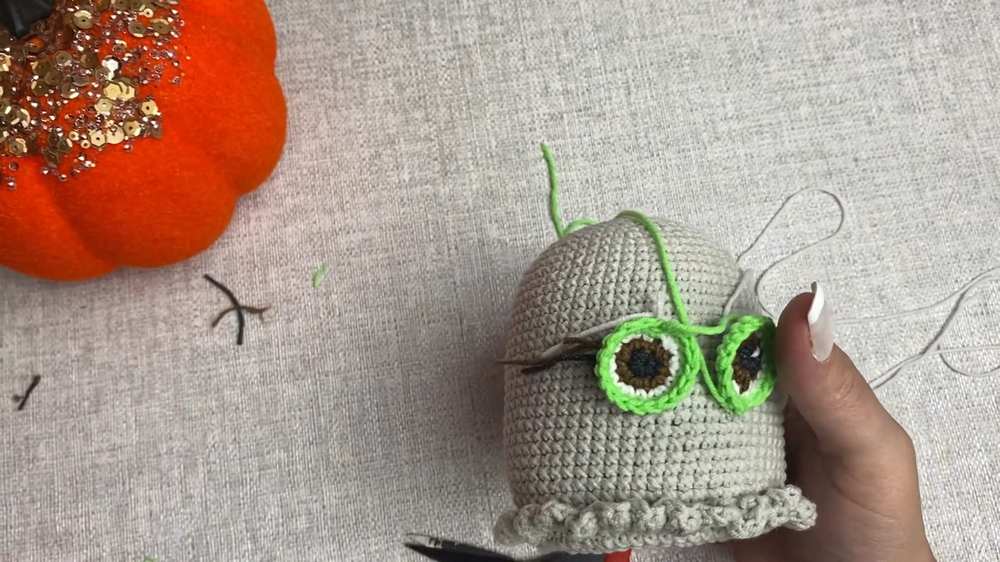
4. The Eyes (Make 2, Start with Black Yarn)
Rnd 1 (With Black): 5 dc in MR, in the 6th stitch start the dc but pull through with Brown yarn to complete the stitch. Cut the Black yarn.
Rnd 2 (With Brown): 6 inc
In the final stitch of Round 2, change to White yarn. Cut the Brown yarn.
Rnd 3 (With White): (1 dc, inc) x 6
In the final stitch of Round 3, change to Green yarn. Cut the White yarn.
Rnd 4 (With Green): 18 dc
Fasten off and leave a long tail for sewing. Use white yarn to add a small highlight stitch to the black pupil.
5. The Cheeks (Make 2, Use Pink Yarn)
Rnd 1: 6 dc in MR
Rnd 2: 6 inc
Fasten off, leaving a tail for sewing.
6. The Nose (Use Grey Yarn)
Rnd 1: 6 dc in MR
Rnd 2: 6 inc
Rnd 3: 6 dec
Fasten off, leaving a tail for sewing. Do not stuff.
Assembly
Sew the eyes onto the ghost body, starting around Round 7 from the bottom.
Sew the nose centered between the eyes.
Sew the cheeks just below and to the outside of the eyes.
Using black embroidery thread or yarn separated into strands, embroider a smiling mouth, eyelashes at the outer corners of the eyes, and small angled eyebrows above the eyes.
Cut a circle of cardboard slightly smaller than the crocheted base.
Begin sewing the crocheted base to the unworked back loops of Round 34 on the body.
When halfway sewn, firmly stuff the ghost.
Insert the cardboard circle so it sits flat against the bottom base piece.
Finish stuffing, ensuring it is firm, and then sew the rest of the base closed. Secure the tail and hide the ends inside the body.
Place the witch hat on the ghost’s head!
Learn Even Better with the Video Tutorial