Crochet Yellow Monster Plushie Pattern For Kids
Crochet Yellow Monster Plushie Pattern
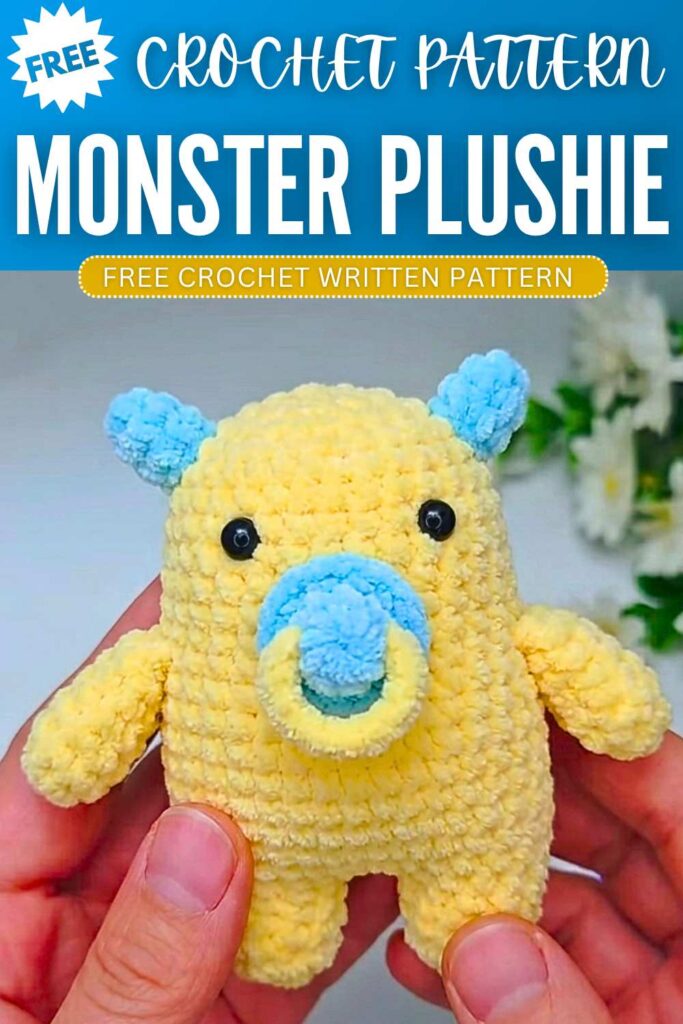
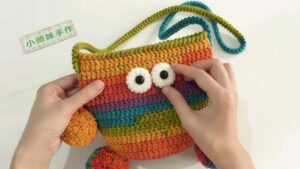
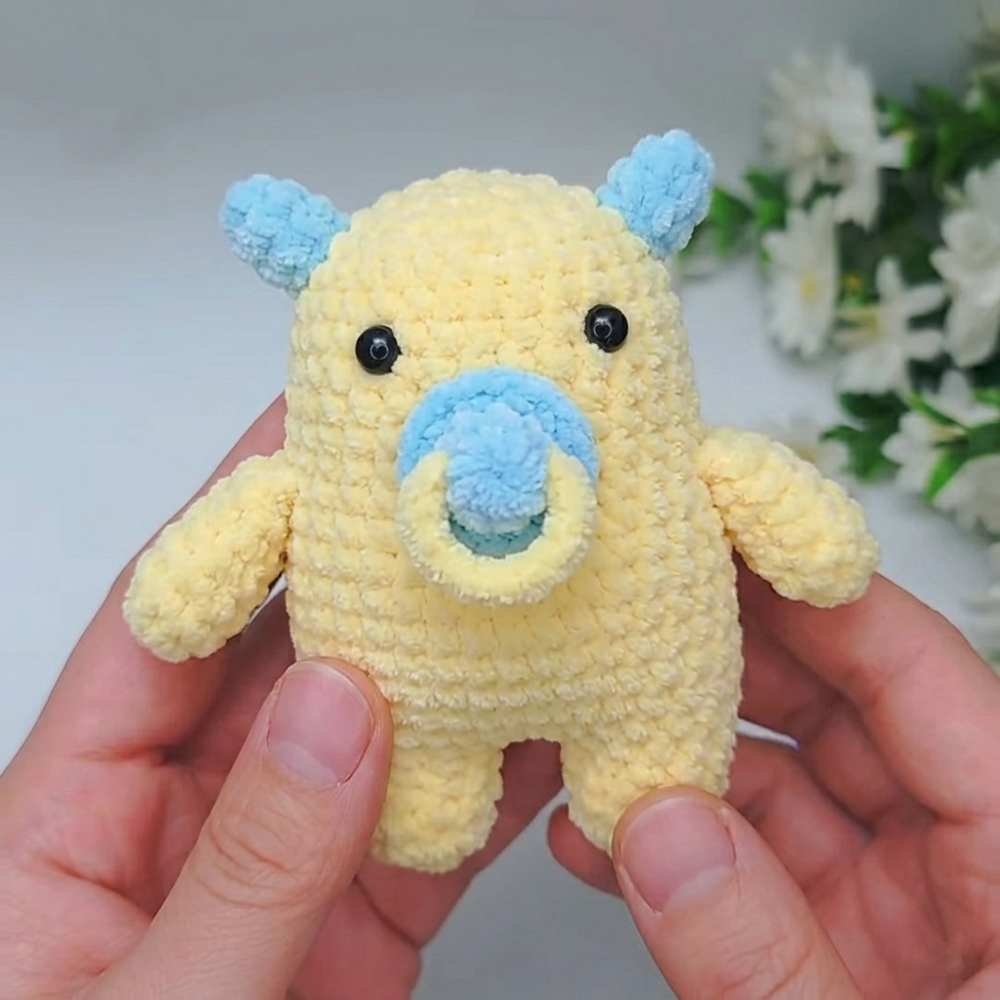
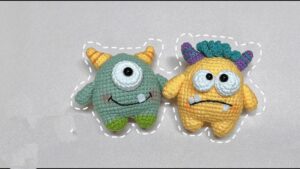
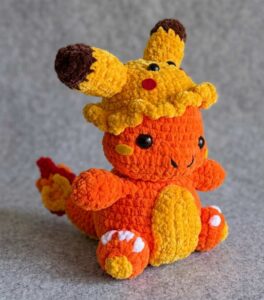
This is the complete crochet pattern for “Yellow Baby,” the smallest member of the Emotion Monsters family. This amigurumi features a cute pacifier and is designed for beginners.
Materials Needed
Yarn: (Plush) Yellow milk cotton (main body), small amounts of blue and white (for the pacifier).
Hook: 5mm crochet hook.
Safety Eyes: Two 5 mm black eyes.
Supplies: Fiberfill stuffing, tapestry needle, scissors, stitch markers, and craft glue.
Abbreviation List
MR: Magic Ring
ch: Chain
sc: Single crochet
inc: Increase (2 sc in one stitch)
dec: Decrease (sc 2 stitches together)
FLO: Front loop only
st: Stitch
Part 1: Arms (Make 2)
R1: MR, 7 sc (7)
R2–R6: 7 sc in each round (7)
Fasten off and add a small amount of stuffing. These will be joined to the body later.
Part 2: Legs and Body
Legs (Make 2)
R1: MR, 5 sc (5)
R2: 5 inc (10)
R3–R4: 10 sc in each round (10)
Fasten off for the first leg. Keep the yarn attached to the second leg.
Body (Joining the legs)
R5: 3 ch, join to the first leg. Work 10 sc around the first leg, 3 sc along the chain (one side), 10 sc around the second leg, and 3 sc along the opposite side of the chain (26)
R6: (4 sc, 2 inc, 4 sc, 3 inc) repeat twice (36)
R7–R13: 36 sc in each round (36)
R14: (7 sc, dec) repeat 4 times (32)
R15 (Joining Arms): 5 sc, 3 sc through both arm and body, 13 sc, 3 sc through both arm and body, 8 sc (32)
R16–R20: 32 sc in each round (32)
R21: (3 sc, dec, 3 sc) repeat 4 times (28)
R22: 28 sc (28)
Stuff firmly and continue stuffing as you go.
R23: (5 sc, dec) repeat 4 times (24)
R24: (sc, dec, sc) repeat 6 times (18)
R25: (sc, dec) repeat 6 times (12)
Fasten off and sew the opening closed.
Part 3: Spikes/Horns (Make 2)
R1: MR, 3 sc (3)
R2: 3 inc (6)
R3: 6 sc (6)
Fasten off, leave a long tail for sewing. Flip the piece right-side out.
Part 4: Pacifier
Main Part (Blue)
R1: MR, 5 sc (5)
R2: 5 sc (5)
Flip right-side out.
R3 (FLO): 5 inc (10)
Fasten off and leave a tail for sewing.
Handle (White)
Leaving a long tail first, ch 12.
Fasten off and tie the two ends to the back of the blue pacifier piece to create a loop/handle.
Part 5: Assembly
Eyes: Position the 5 mm safety eyes on the face. Secure with glue or backings as per your preference.
Spikes: Sew the two small horns to the top of the head.
Pacifier: Sew the completed pacifier to the center of the face, slightly below the eyes.
Finish: Add a bag charm clasp or keychain to the top if you’d like to use it as an accessory.
You may also like
How to Crochet Yellow Pumpkin Hair Clip (Tutorial for Beginners)
Sogio: Crochet One-Eyed Buddy Monster Plushie for Halloween
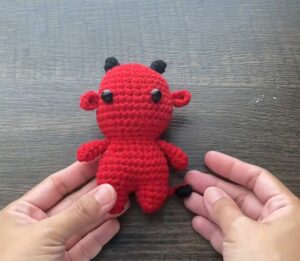
Tranglamcrochet: Crochet Halloween Red Monster Plushie & Amigurumi Pattern
How to Crochet Colorful Baby Monster Amigurumi (2-in-1 Tutorial)
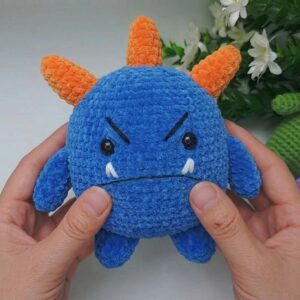
Crochet Your Stress-relief Chubby Plushie Monster Pattern
Pinky Promise: Crochet Monster In Hat Plushie Pattern for Fall