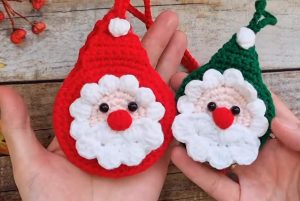
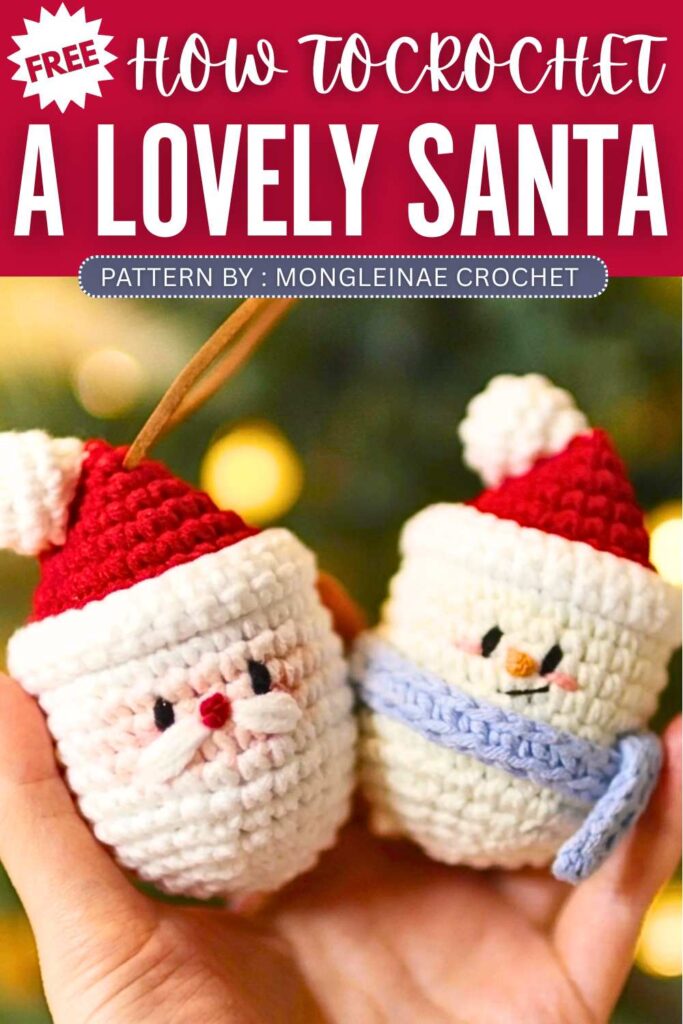
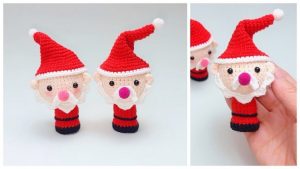
Crochet Lovely Santa Charm Pattern For Christmas Decorations
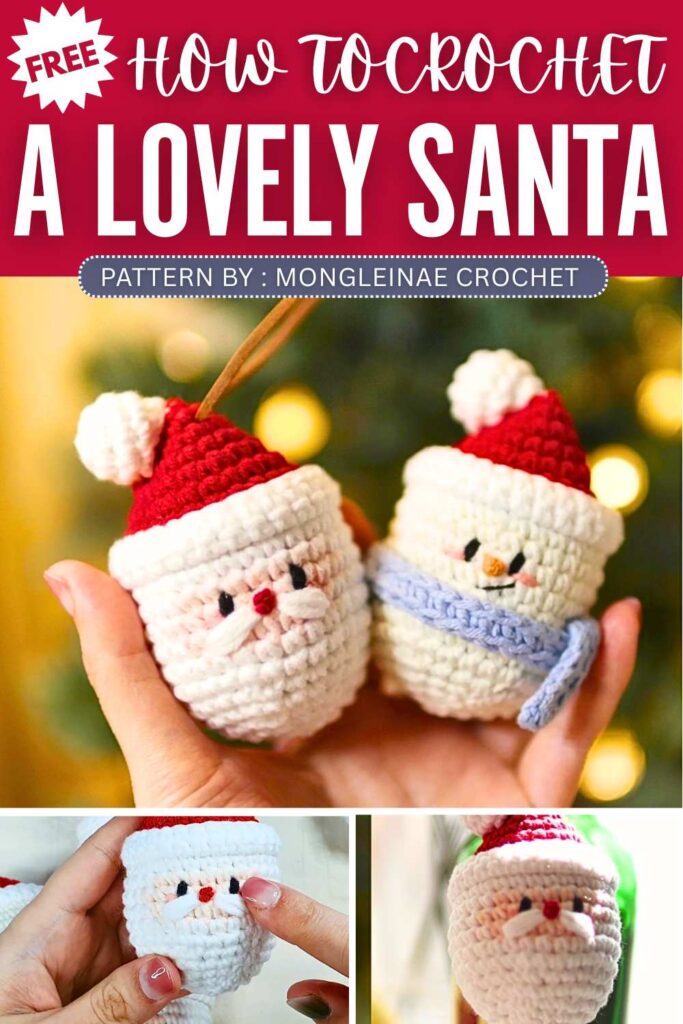
Make your holidays more special with these cute Santa and snowman crochet ornaments. These small amigurumi figures are perfect for decorating Christmas trees, garlands, or even gifts. Simple stitches and color changes bring Santa and the snowman to life with tiny scarves and festive details. They can also be used as keychains or small decorations, making them a fun and easy handmade project for the winter season.
Crochet Lovely Santa Charm For Christmas
The designer of this pattern is @mongleinae. She makes themed crochet pouches and little decorations that are always elegant and gift-ready. In one word, she is among the most CREATIVE crochet designers whose work I have covered so far. Just take a look at her octopus pouch!
Be sure to subscribe to her channel for more of creative crochet patterns and to support her
Step by Step Pattern:
Abbreviations
MR: Magic Ring
sc: Single crochet
inc: Increase (2 sc in the same stitch)
dec: Decrease (invisible decrease recommended)
sl st: Slip stitch
ch: Chain
blo: Back loop only
Materials Needed
Yarn: Red and White (main colors), Peach/Skin tone (for Santa), Black/Pink (for embroidery).
Hook: 3.0mm (Size 5/0).
Other: Fiberfill, scissors, yarn needle, stitch markers.
Pattern Instructions (Santa & Snowman Base)
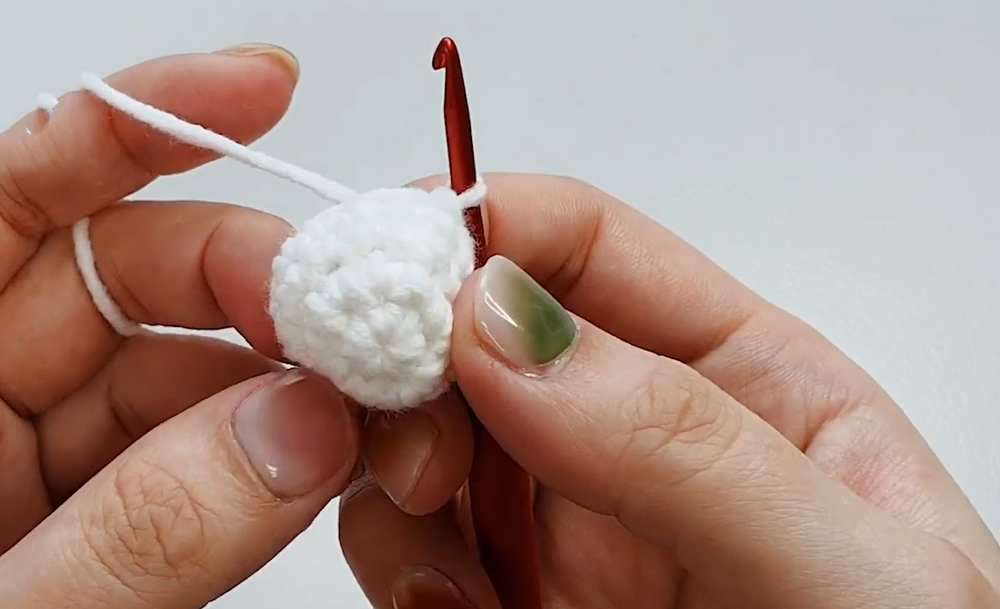
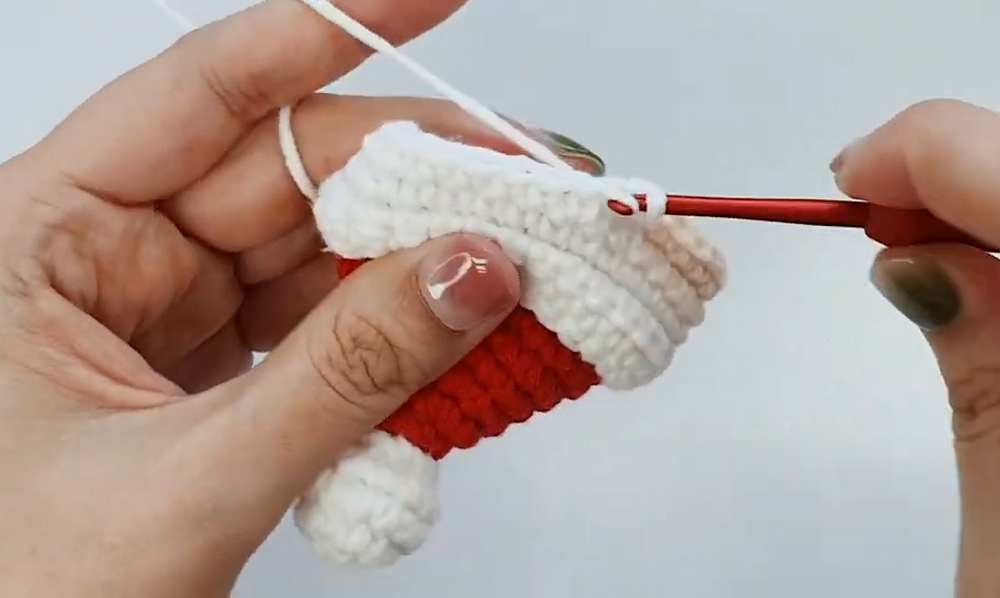
Part 1: The Hat (Starting with white)
The hat is constructed identically for both the Santa and the Snowman ornaments.
Round 1: 6 sc in MR (6)
Round 2: 6 inc (12)
Round 3-4: 12 sc around (2 rounds)
Round 5: 6 dec (6)
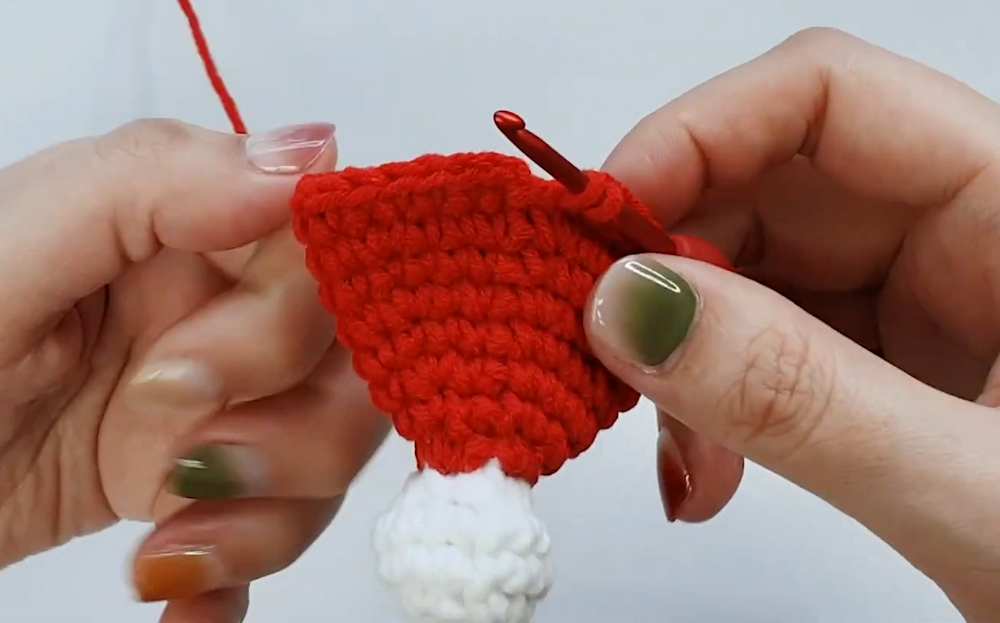
Note: If you started with a different color, ensure you are using Red now.
Round 6: 6 inc (12)
Round 7: 12 sc around (12)
Round 8: (1 sc, 1 inc) x 6 (18)
Round 9: 18 sc around (18)
Round 10: (2 sc, 1 inc) x 6 (24)
Round 11: 24 sc around (24)
Round 12: (3 sc, 1 inc) x 6 (30)
Round 13: 30 sc around (30)
Change to White yarn on the final pull-through of the last stitch.
Round 14-16: 30 sc around in White (3 rounds)
Finish: Fasten off and weave in ends.
Part 2: The Face & Body (Santa)
To begin the face, you will crochet into the “post” or the horizontal bars (back bumps) of the stitches located at the transition between the Red and White sections of the hat.
Round 17: Attach White yarn to the post/horizontal bar. 30 sc around (30).
Round 18 (Color Work): 11 sc in White, 7 sc in Peach (Skin color), 12 sc in White.
Round 19: 10 sc in White, 9 sc in Peach, 11 sc in White.
Round 20: 11 sc in White, 7 sc in Peach, 12 sc in White.
Round 21-22: 30 sc around in White only.
Round 23: (3 sc, 1 dec) x 6 (24)
Round 24: 24 sc around (24)
Round 25: (2 sc, 1 dec) x 6 (18)
Stuff the ornament firmly with fiberfill.
Round 26: (1 sc, 1 dec) x 6 (12)
Round 27: 6 dec (6)
Finish: Close the remaining hole using a yarn needle and hide the tail inside the body.
Part 3: The Face & Body (Snowman)
If you are making the Snowman, follow these steps after completing the Hat (Part 1).
Round 17: Attach White yarn to the post/horizontal bar. 30 sc around (30).
Round 18-23: 30 sc around (6 rounds total) (30).
Round 24: (3 sc, 1 dec) x 6 (24)
Round 25: (2 sc, 1 dec) x 6 (18)
Stuff firmly with fiberfill.
Round 26: (1 sc, 1 dec) x 6 (12)
Round 27: 6 dec (6)
Finish: Close the hole and weave in ends.
Part 4: Details & Accessories
Santa’s Face: Use Red yarn to embroider a small nose in the center of the Peach section. Use Black yarn for eyes placed one stitch away from the nose on either side. Add Pink yarn for small blush marks.
Santa’s Beard: Use White yarn to create small “V” shaped embroidery stitches directly below the nose area.
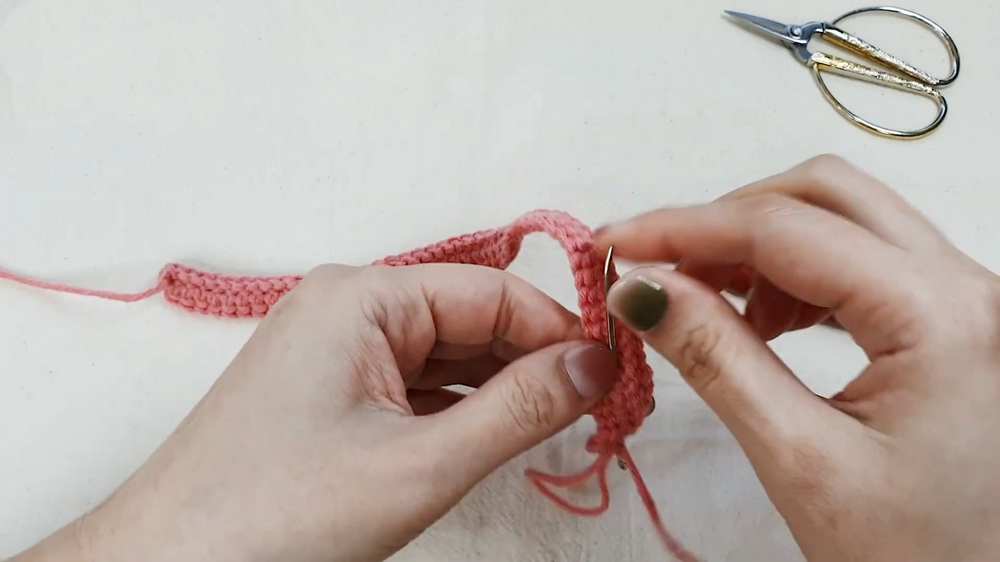
Snowman’s Scarf:
Chain 55.
Single crochet in the second chain from the hook and in every chain across.
Slip stitch back along the opposite side of the initial chain to add thickness.
Tie the scarf around the Snowman’s neck and secure it with a small stitch.
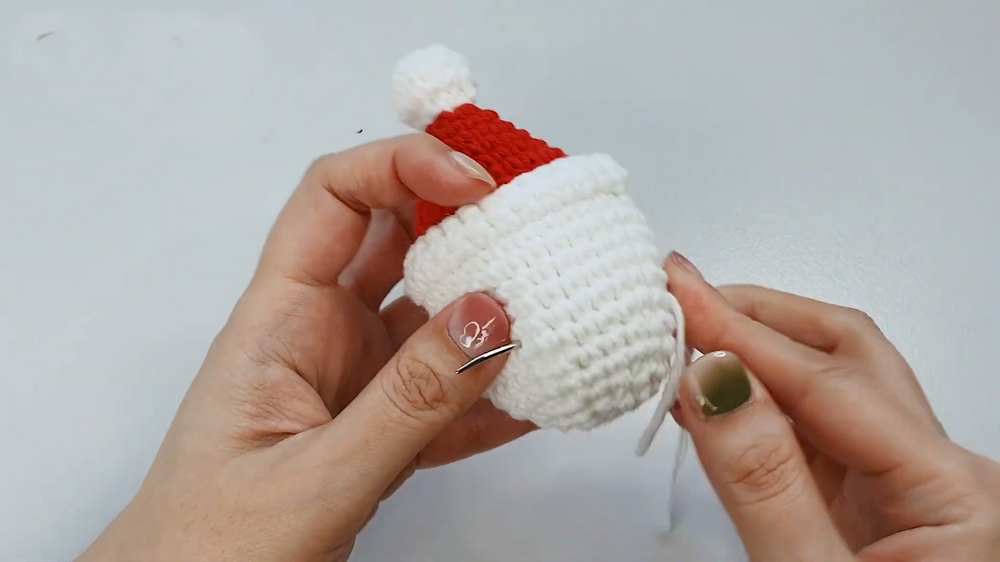
Hat Style: To achieve the bent hat look, fold the tip of the red hat to the side and use a needle and Red yarn to tack it down to the side of the hat.
Video Tutorial:
You may also like
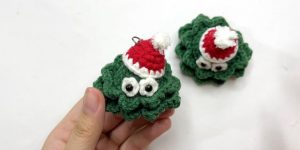
How to Crochet Googly Eyed Christmas Tree with Santa Hat
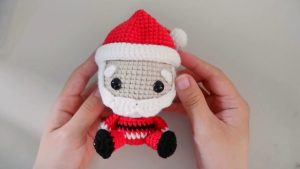
How to Crochet Baby Santa Claus Amigurumi for Kids
How to Crochet Santa Clause Puppet For Christmas
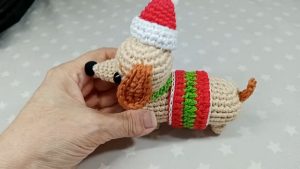
How to Crochet Christmas Dog Amigurumi with Santa Hat
How to Crochet Santa Christmas Hat for Kids