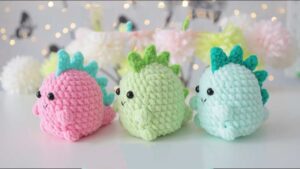
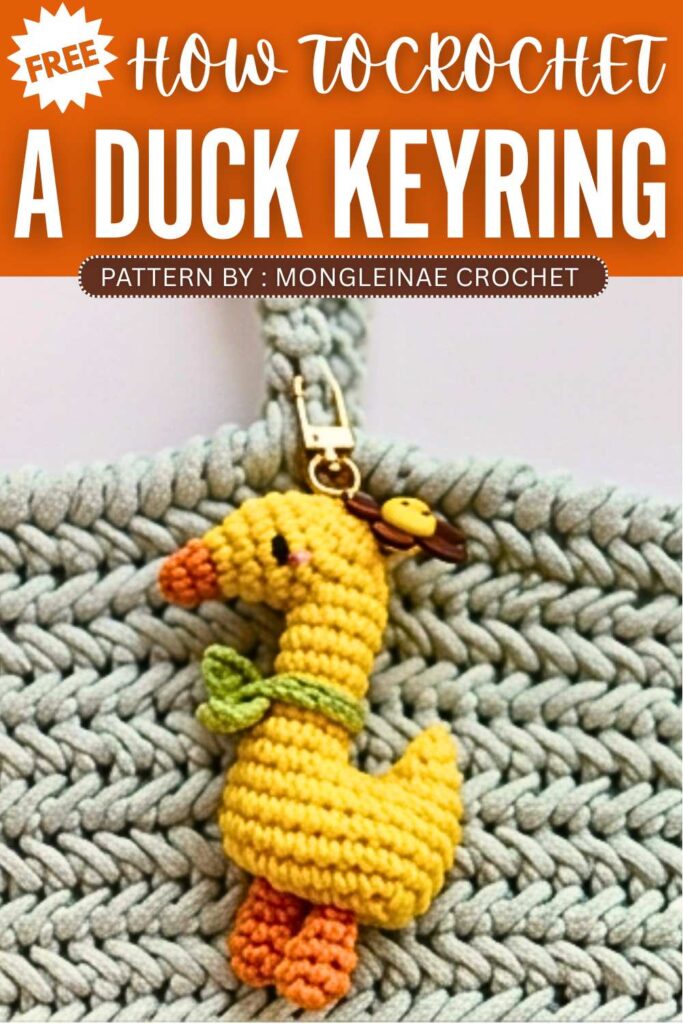
Crochet Duck Amigurumi Keychain Pattern Free
Crochet Duck Amigurumi Keychain Pattern

The designer of this pattern is @mongleinae. She makes themed crochet pouches and little decorations that are always elegant and gift-ready. In one word, she is among the most CREATIVE crochet designers whose work I have covered so far. Just take a look at her octopus pouch!
Be sure to subscribe to her channel for more of creative crochet patterns and to support her
Step by Step Pattern:
Materials List
Yarn: Romeo yarn (for a larger duck) or Juliet yarn (for a smaller duck). Colors: White (Body), Orange (Beak/Feet), and Pink (Cheeks).
Hook: 3.0mm (Size 5/0) for Romeo yarn OR 2.0mm (Size 2/0) for Juliet yarn.
Other Tools: Polyester fiberfill (stuffing), tapestry needle, scissors, forceps/tweezers (optional, for stuffing), black embroidery thread (for eyes), and a keyring/brooch pin.
Abbreviation List
ch: chain
st(s): stitch(es)
sc: single crochet
inc: increase (2 sc in one stitch)
dec: decrease (sc 2 together)
sl st: slip stitch
hdc: half double crochet
dc: double crochet
Pattern Instructions
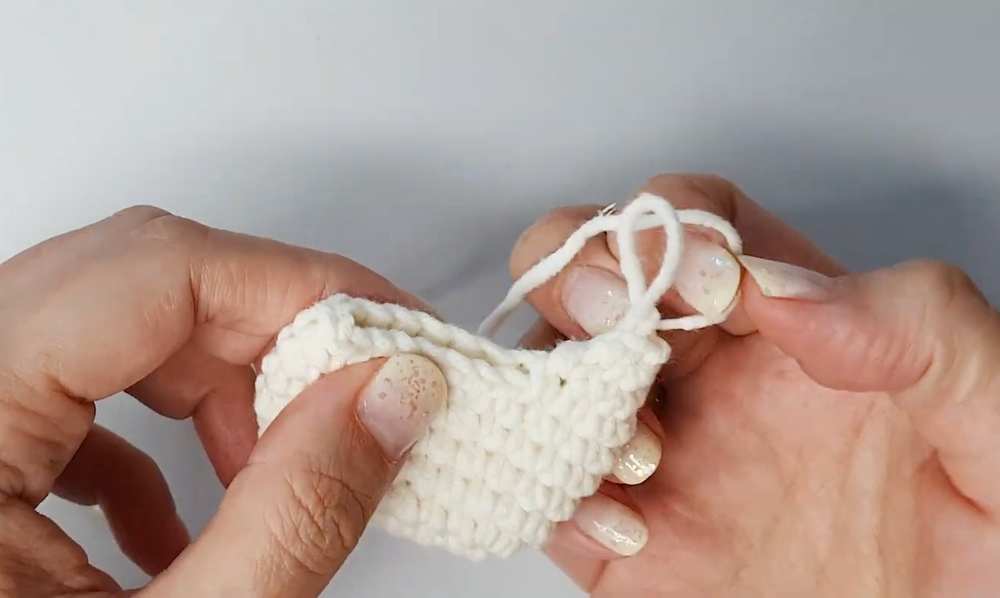
1. Body & Tail
Using White yarn
R1: Ch 8. Starting from 2nd ch from hook: 1 inc, 5 sc, 3 sc in the last ch. Working along the other side of the chain: 6 sc. Sl st to join. (16 sts)
R2: Ch 1, 2 inc, 5 sc, 3 inc, 5 sc, 1 inc. Sl st to join. (22 sts)
R3–R6: Ch 1, 22 sc around. Sl st to join.
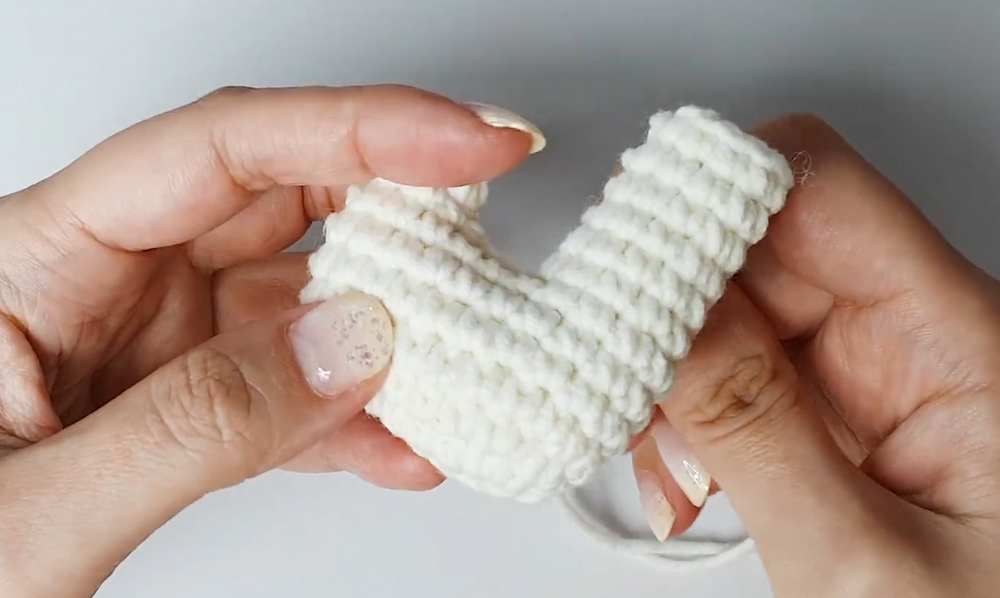
R7 (Tail Section): Ch 1, 5 sc. Turn work. Skip sl st and ch, count back 3 sts on the opposite side of the body. Join with a sc. Sc in the next 2 sts. Sl st to join. (8 sts for tail circle)
R8: Ch 1, (2 sc, 1 dec) × 2. Sl st to join. (6 sts)
R9: Ch 1, 3 dec (or skip every other stitch for a sharp point). Fasten off, leaving a long tail for sewing.
2. Neck
Reattach White yarn to the body opening (3rd st from the tail join)
R8 (Neck): Ch 1, 10 sc around the remaining body opening (leaving 2 sts gap on each side between neck and tail). Sl st to join. (10 sts)
R9–R12: Ch 1, 10 sc around. Sl st to join.
Stuffing: Fill the body and neck firmly with fiberfill. Use the tail yarn to sew the small gaps between the tail and neck closed.
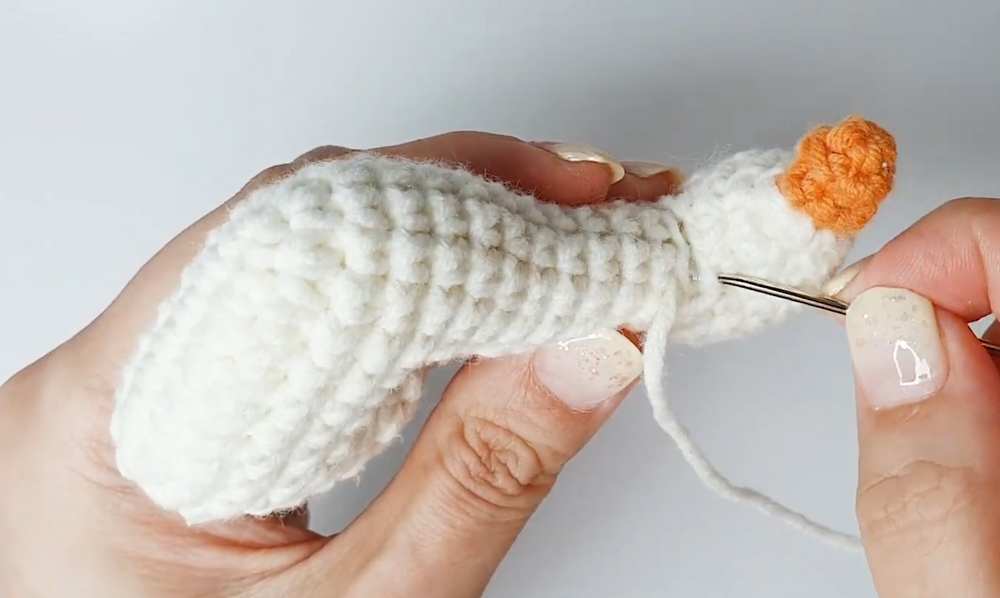
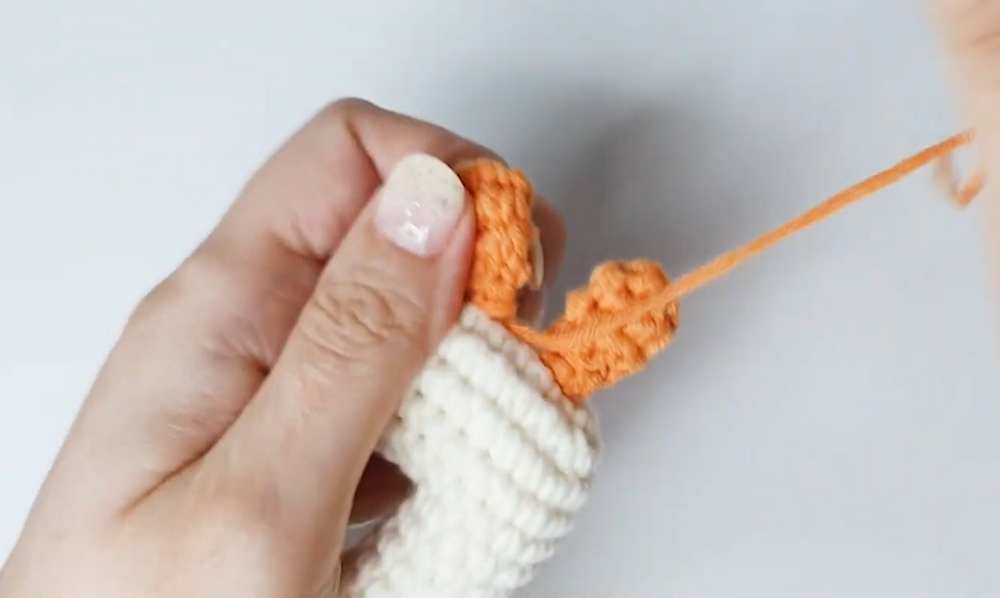
3. Beak & Head
Starting with Orange yarn for the beak
R1: Magic Ring, 3 sc. (3 sts)
R2: Ch 1, (1 inc, 1 sc, 1 inc). (5 sts)
R3: Ch 1, 5 sc. On the last stitch, change to White yarn. (5 sts)
R4 (Head starts): Ch 1, (1 inc, 1 sc, 1 inc, 1 sc, 1 inc). Sl st to join. (8 sts)
R5: Ch 1, (1 sc, 1 inc) × 4. Sl st to join. (12 sts)
R6: Ch 1, 12 sc around. Sl st to join. (12 sts)
Assembly to Neck: Connect the head to the neck by slip stitching 8 sts together, then sc around the head opening.
R7–R9 (Top of Head): Continue sc rounds, decreasing gradually (e.g., 4 sc, 1 dec) until closed.
Stuffing: Add stuffing to the beak and head before closing.
4. Feet (Make 2)
Using Orange yarn
R1: Magic Ring, 6 sc. (6 sts)
R2–R3: 6 sc around.
R4: (1 sc, 1 dec) × 2. (4 sts)
Fasten off, leaving a tail. Sew to the bottom of the body (around R1–R2 of the body).
5. Scarf
Using preferred color
Row 1: Ch 27.
Row 2: Starting from 2nd ch: 1 sc, 1 hdc, 1 dc, 1 hdc, 1 sc. Sl st in every chain until 5 chains remain. In the last 5 chains: 1 sc, 1 hdc, 1 dc, 1 hdc, 1 sc.
Fasten off. Wrap around the duck’s neck and sew the overlapping ends to secure.

6. Finishing Touches
Eyes: Use black thread to embroider two small horizontal lines or “V” shapes above the beak.
Cheeks: Use pink yarn to make a single stitch or small French knot under the eyes.
Keyring: Attach your keyring or ball chain to the top of the head.
Video Tutorial:
You may also like
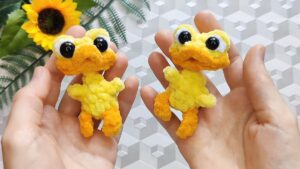
Free Crochet No-Sew Duck Plushie Pattern (Funny & Cute)
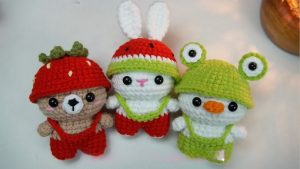
How to Crochet Dressed Animal Dolls With Caps (Bunny, Bear & Duck)

How to Crochet Funny Duck Keychain for Autumn – Duck Bag Charm
I L ove Amigurumi: Free Crochet Sweet Bat Brooch Pattern for Halloween
From Littlespot: How to Crochet 2-in-1 Starfish Keychain Amigurumi for Summer
Free Crochet Quick Any-Color Pumpkin Amigurumi Pattern
Hui Crochet: How to Crochet Pumpkin Amigurumi Hairclip for Fall
Chubby Cheeks: How to Crochet Rainbow Lobster Amigurumi for Summer