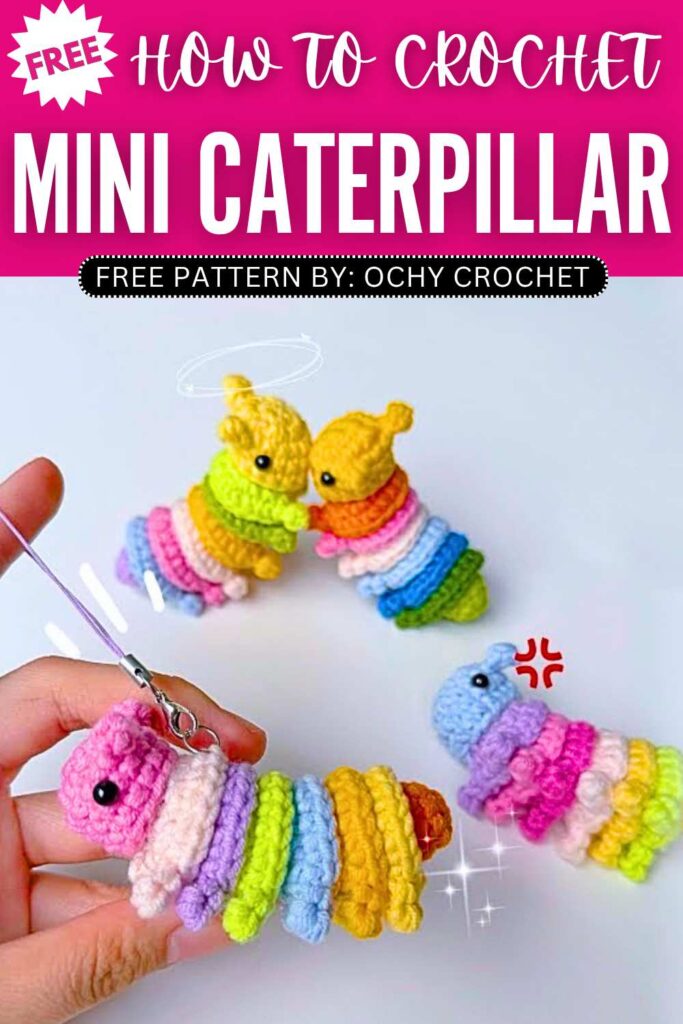
Free Crochet Rainbow Caterpillar Toy Pattern for Kids
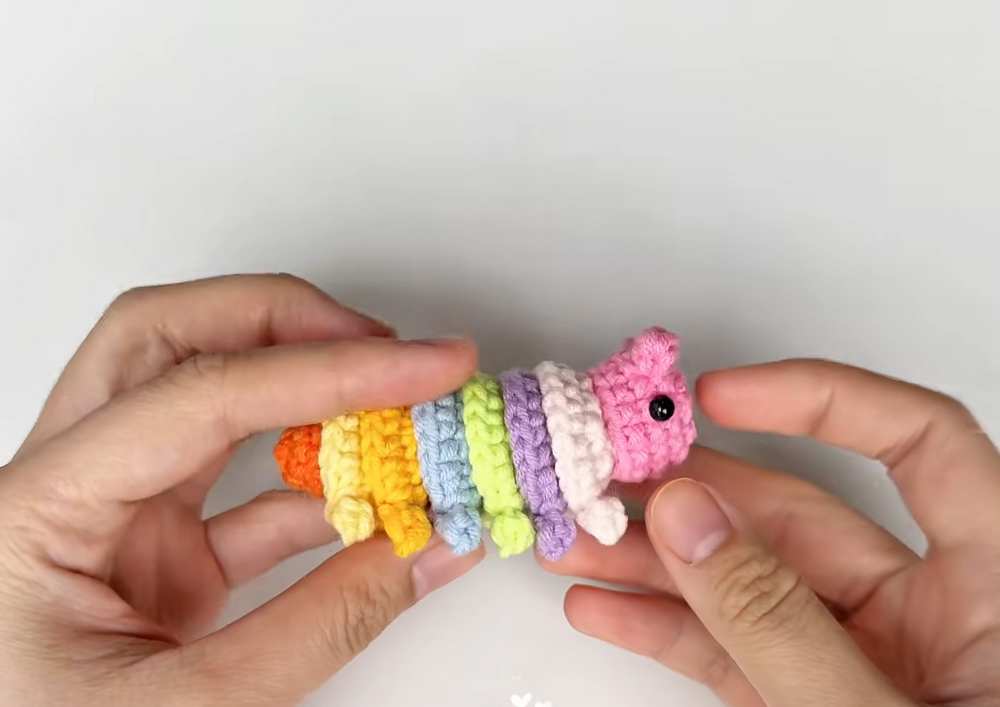
This crochet COLORFUL caterpillar was a part of “mini colorful amigurumi” series! Today, I will finally a provide a free crochet pattern to make this rainbow caterpillar fidget toy keychain. It is a multi-part amigurumi that you can crochet with the yarn scrapes of your stash. You can crochet it as your desk buddy and with its 8-colored body, it will brighten up your table and lift your mood.
Just like the last time, there is also the caterpillar tutorial in the end. You can also crochet it as a kindergarten amigurumi so babies can recognize the colors. This is the CUTEST summer amigurumi (well, it does not need any stuffing. With all that said, let’s crochet caterpillar.
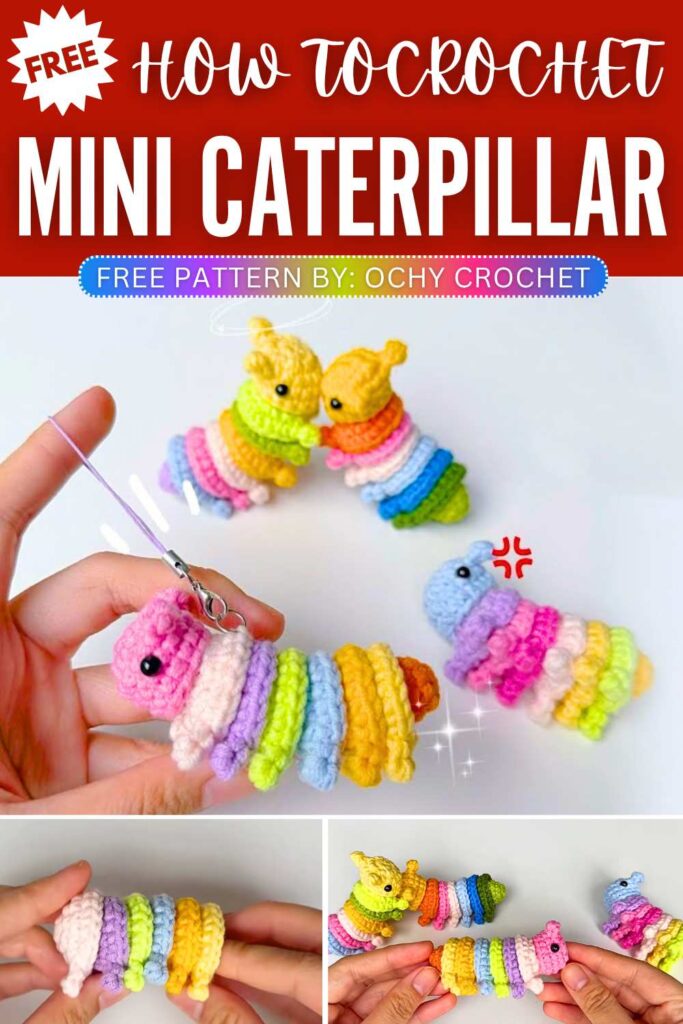
About the designer: The designer behind this crochet rainbow caterpillar toy is @ochycrochet – she is among our favorite collaborators all for her oh-so cute and miniature keychains like this caterpillar toy amigurumi. She has tons of crochet summer amigurumi from fish to octopus, mood amigurumi and even squid. Be sure to support her by checking her extensive library of small amigurumi.
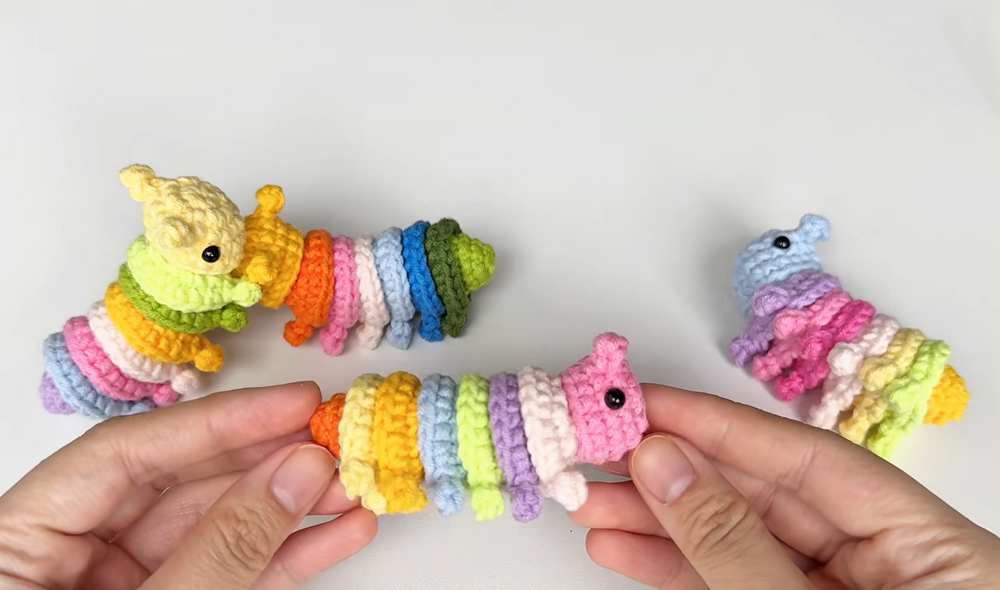
How to Crochet COLORFUL Caterpillar Toy
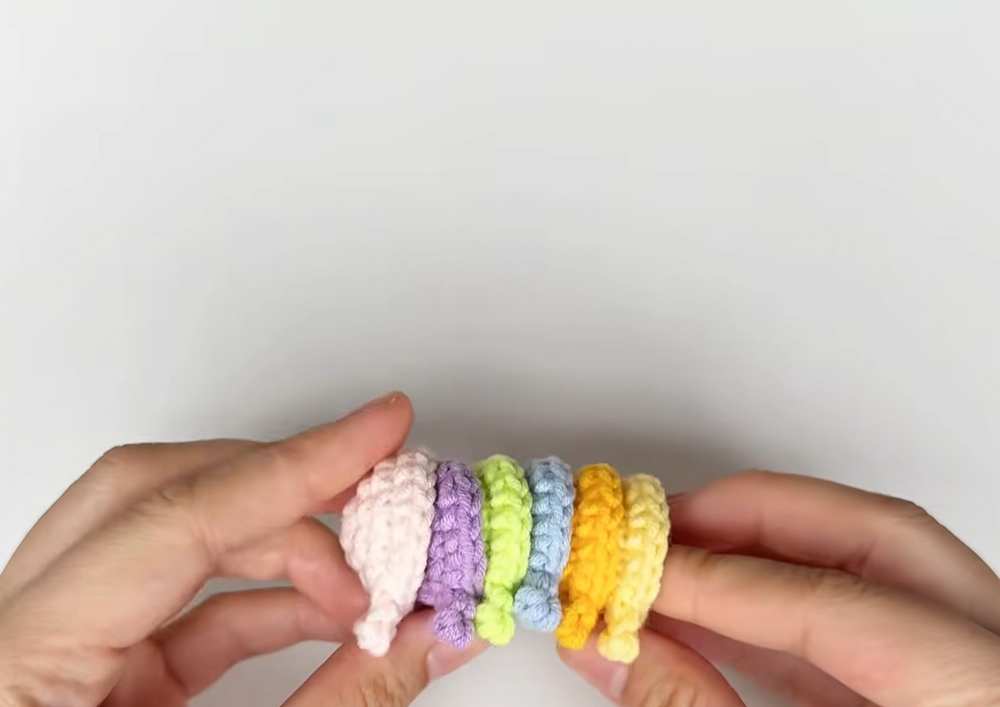
This adorable crochet project is for a colorful mini caterpillar that makes a perfect keychain or small decoration. It uses a modular design, meaning you crochet a small head, a tail, and several identical body segments that are then sewn together.
This allows you to easily customize the caterpillar’s length and mix up the colors as much as you like! The design features tiny, built-in legs and small antennas on the head, made by combining simple crochet stitches.
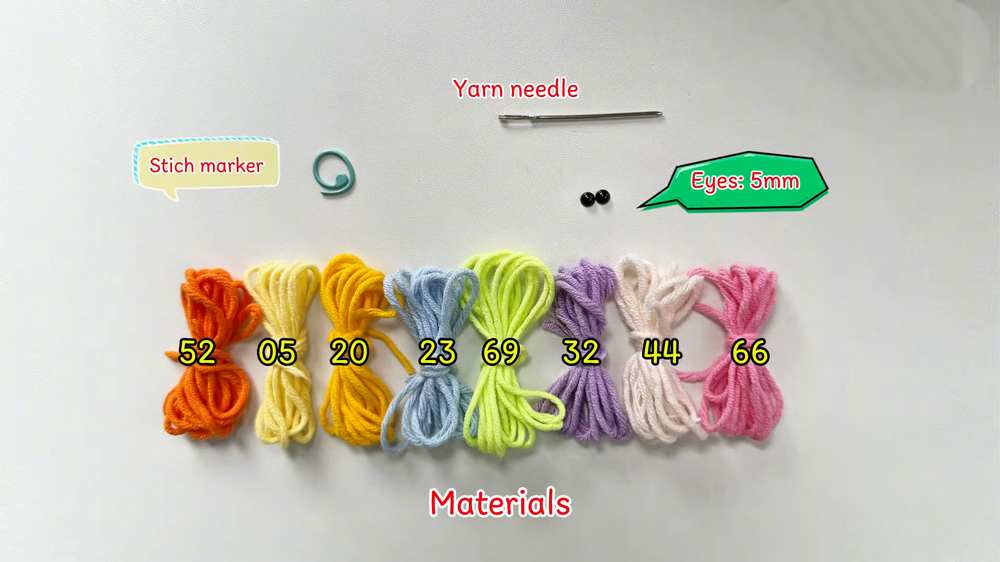
Materials Needed
Yarn: 125g cotton yarn in various colors of your choice
Crochet Hook: 2.0mm hook
Safety Eyes: 5mm size
Yarn needle (for sewing segments together and hiding ends)
Stitch marker
Fiberfill stuffing (optional, though the video does not explicitly show stuffing the segments)
Abbreviations (US Terms)
MR: Magic Ring
ch: chain
sc: single crochet
inc: increase (2 single crochets in the same stitch)
hdc: half double crochet
sl st: slip stitch
st(s): stitch(es)
Full Crochet Pattern
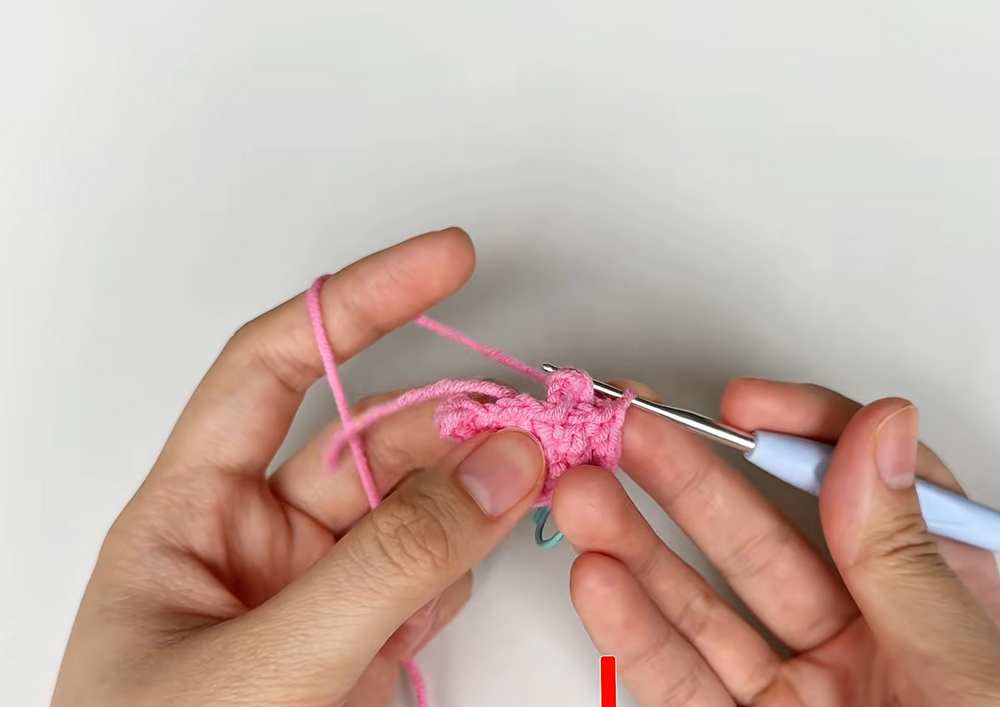
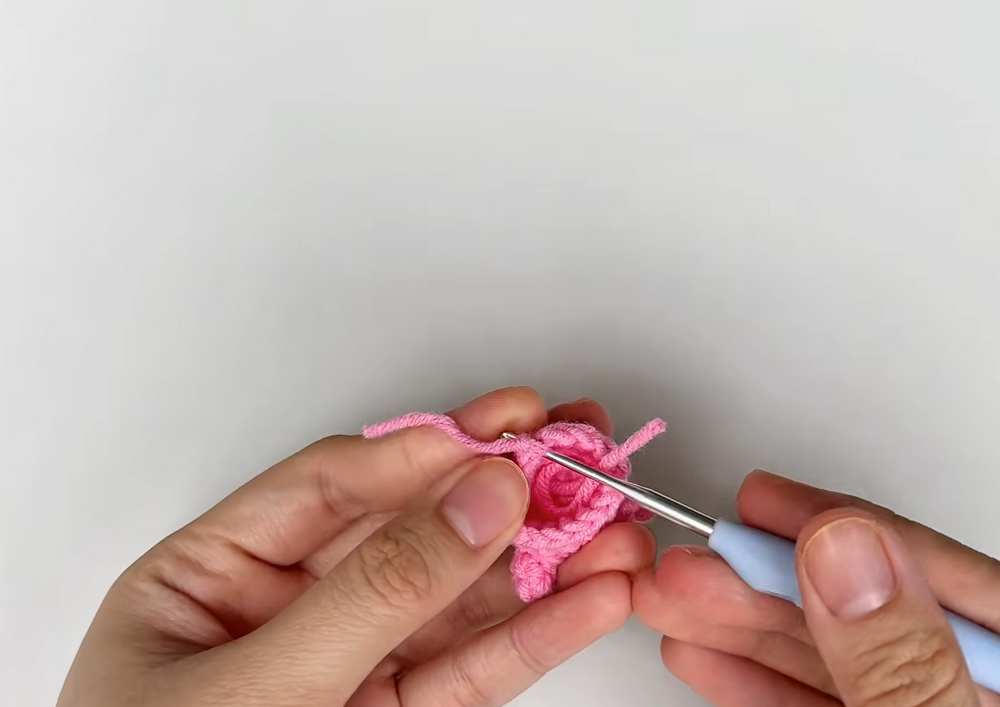
1. The Head
Round 1: Make 7 sc in a Magic Ring, pull tight, and sl st to the first st to join. (7 sts)
Round 2 (Creating the Antennas): * ch 1.
st 1: [inc]
st 2: [inc]
st 3: 1 sc. Then ch 2. In the first ch, make 1 hdc and 1 sc. Sl st into the side of the 1 sc you just made.
st 4: [inc]
st 5: 1 sc. Then ch 2. In the first ch, make 1 hdc and 1 sc. Sl st into the side of the 1 sc you just made. Make another sc into the same base stitch (st 5).
st 6: [inc]
st 7: [inc]
sl st to join.
Round 3: ch 1, [inc] in the first st, 12 sc around, [inc] in the last st, sl st to join. (16 sts)
Rounds 4 – 5: ch 1, 1 sc in each st around, sl st to join. (16 sts)
Finish: ch 1 and fasten off, leaving a tail for sewing if desired. Note: insert the 5mm safety eyes between the antennas before finishing.
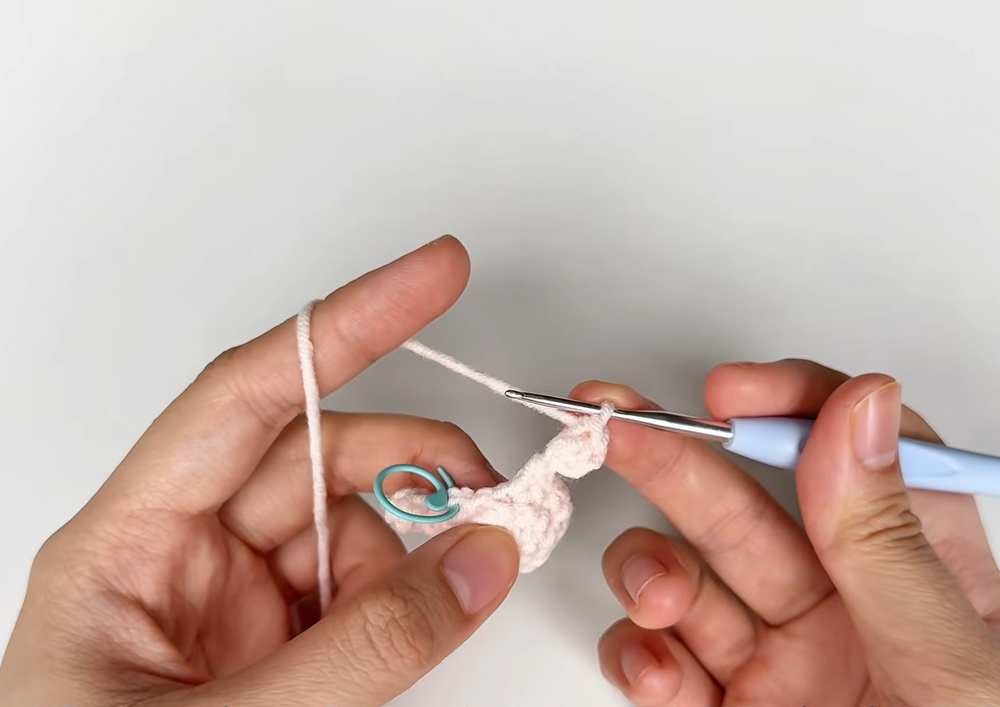
2. Body Segments (Make 6)
Round 1: Make 7 sc in a MR, pull tight, and sl st to join. (7 sts)
Round 2: ch 1, 1 sc, 1 inc, 1 sc, 1 inc, 1 sc, 1 inc, 1 sc, sl st to join. (10 sts)
Round 3 (Creating the Legs):
ch 1.
st 1: 1 sc
st 2: 1 sc. Then ch 2. In the first ch, make 1 hdc and 1 sc. Sl st into the side of the sc just made. Make 1 sc in the same base st (st 2).
st 3: 1 sc
st 4: [inc]
st 5: 1 sc
st 6: [inc]
st 7: 1 sc
st 8: 1 sc. Then ch 2. In the first ch, make 1 hdc and 1 sc. Sl st into the side of the sc just made. Make 1 sc in the same base st (st 8).
sl st to join.
Round 4: ch 1, 2 sc, [inc], 1 sc, [inc], 4 sc, [inc], 1 sc, [inc], 2 sc, sl st to join.
Finish: ch 1, fasten off and weave in the ends.
3. The Tail
Round 1: Make 6 sc in a MR, pull tight, and sl st to join. (6 sts)
Round 2: ch 1, 1 sc, 1 inc, 2 sc, 1 inc, 1 sc, sl st to join. (8 sts)
Round 3: ch 1, 3 sc, 1 inc, 3 sc, 1 inc, sl st to join. (10 sts)
Round 4: ch 1, 2 sc, 1 inc, 4 sc, 1 inc, 2 sc, sl st to join. (12 sts)
Finish: ch 1 and fasten off, leaving a long tail for sewing.
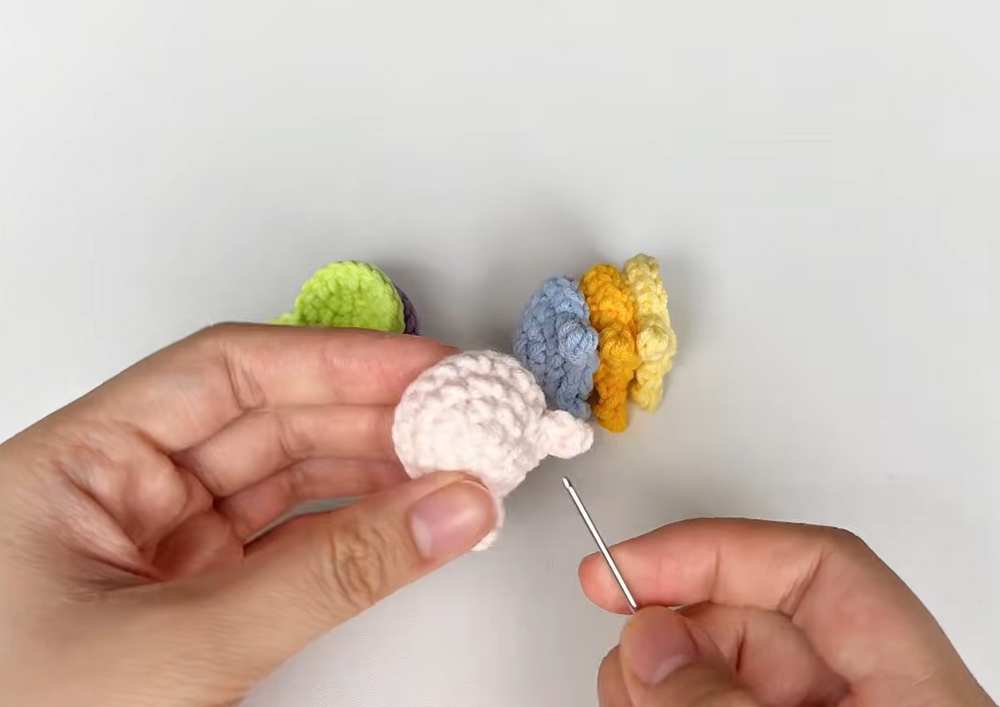
4. Assembly
Take all 6 body segments. Using a yarn needle, thread yarn through the back of one segment and the front of another to join them together.
Continue sewing the body segments together in a line.
Sew the tail piece to one end of the assembled body segments.
Sew the head piece to the other end.
Learn with the Tutorial
Save for Later!
You may also like
Crochet Rainbow Handbag Pattern For Stylish You
How to Crochet Christmas Tree Ornament – Rainbow Christmas Tree
Chubby Cheeks: How to Crochet Rainbow Lobster Amigurumi for Summer
Crochet Mushroom Plush Toy Pattern For Beginners
From LittleSpot: How to Crochet Kawaii Toy Story Character Amigurumi (3-in-1 Tutorial)
Sogio: Crochet Smiling Mushroom Amigurumi Toy Pattern

How to Crochet Horse Plushie – Softest Crochet Toy
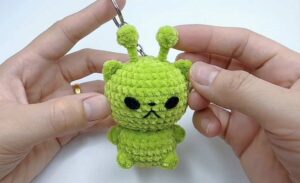
Crochet Cat Alien Plush Toy Amigurumi Pattern